Now that I’m back in Canada, my father and I were able to get right back into things and fired the wood kiln. Using mostly hardwood this time, we had an incredible firing which produced some of our most stunning results yet. Here are some pictures of the process and of the firing, plus the finished work. Also, I will continue to post updates, videos and pictures on Instagram, so please check out our account @panaccipottery . I will also try to continue updating here :) Have a safe holiday season everyone!!
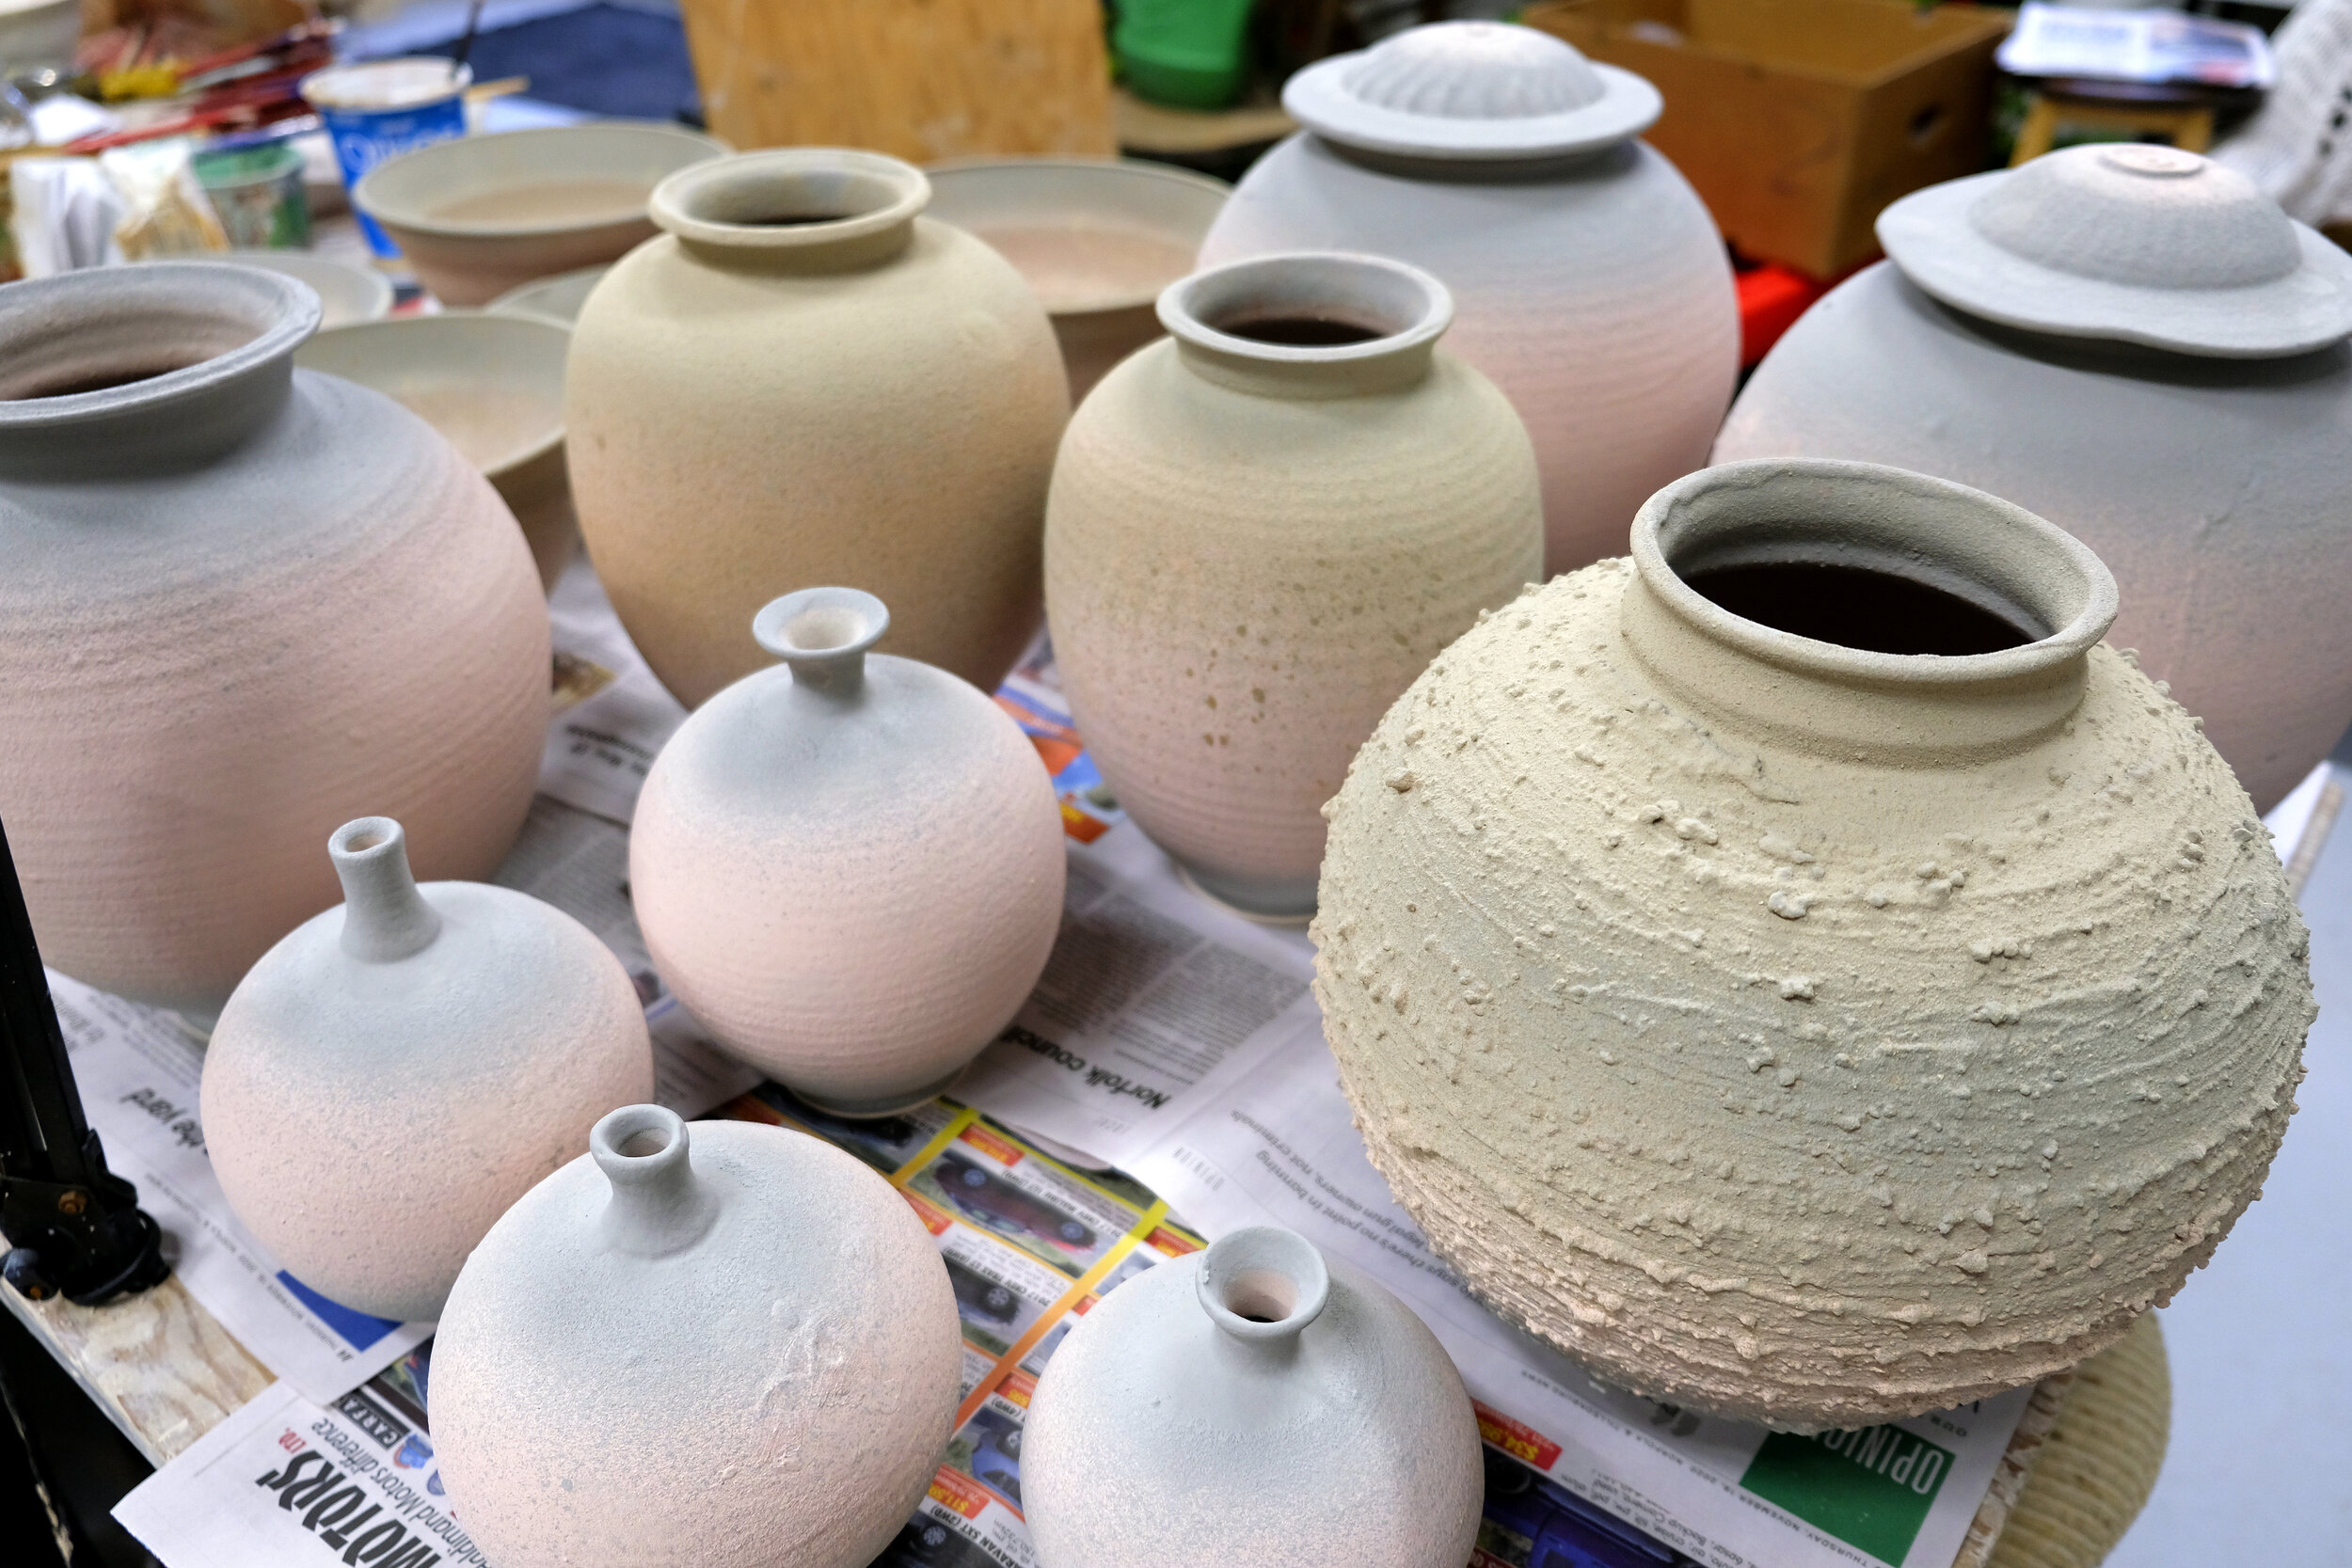
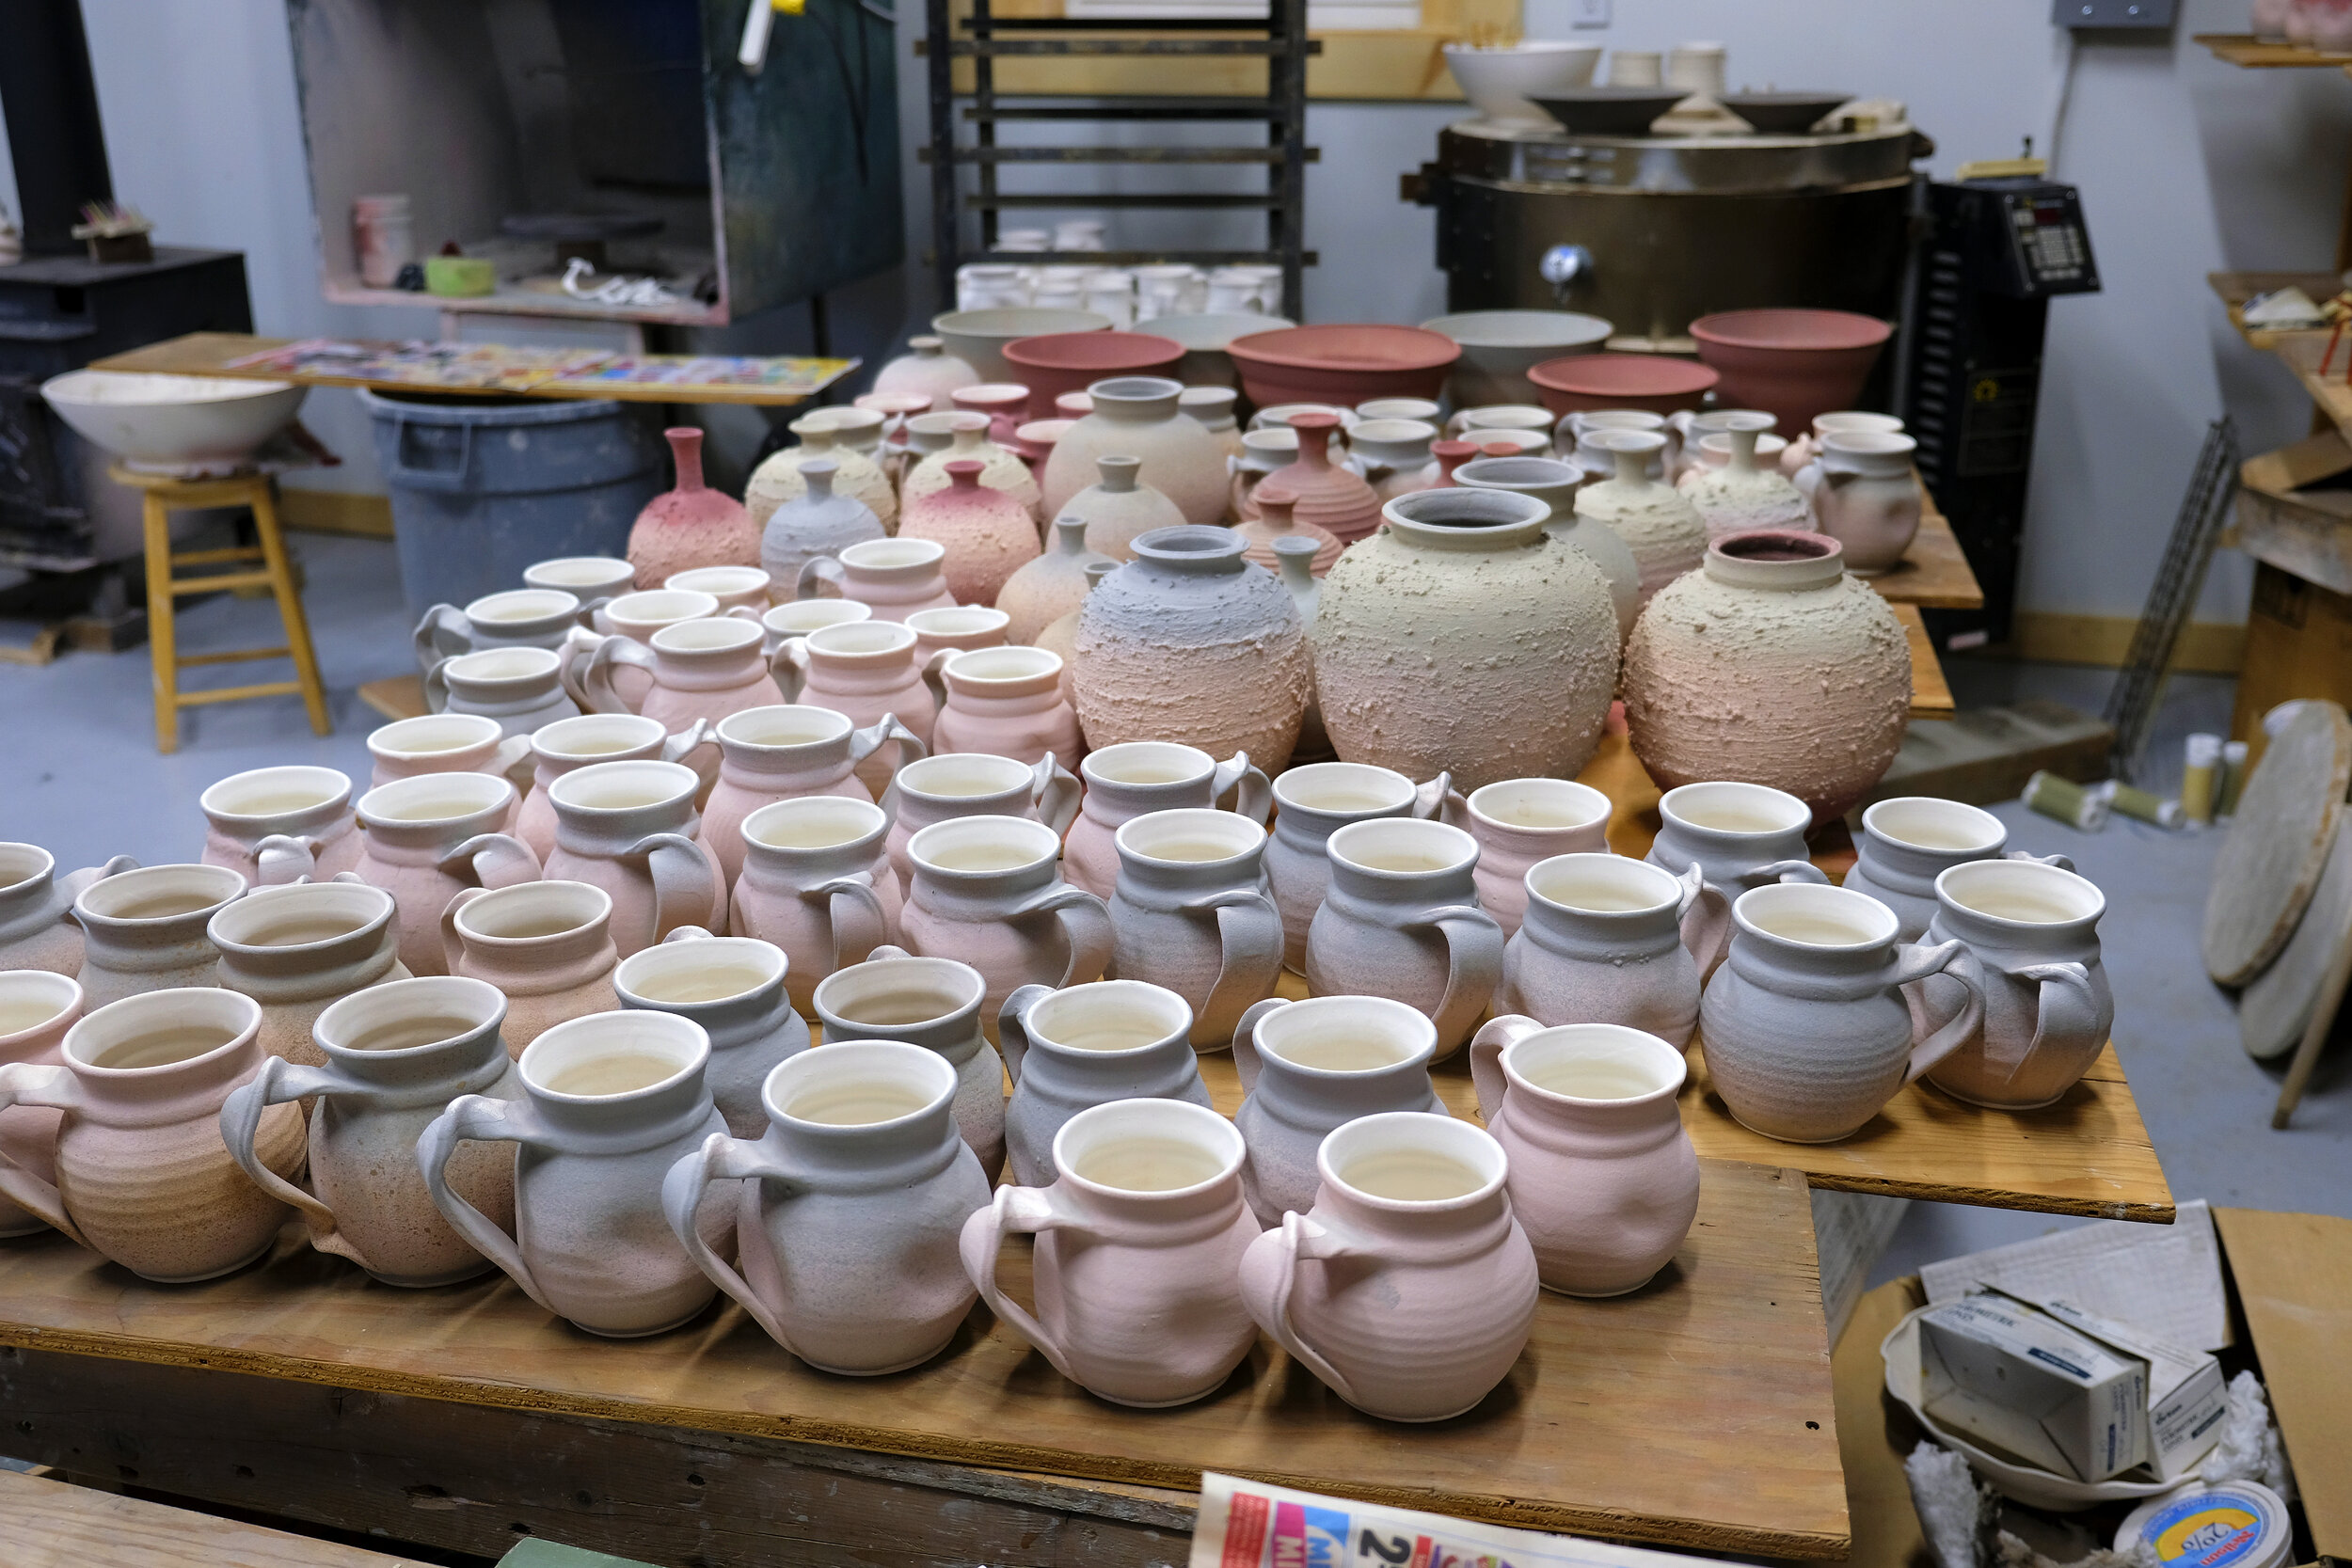
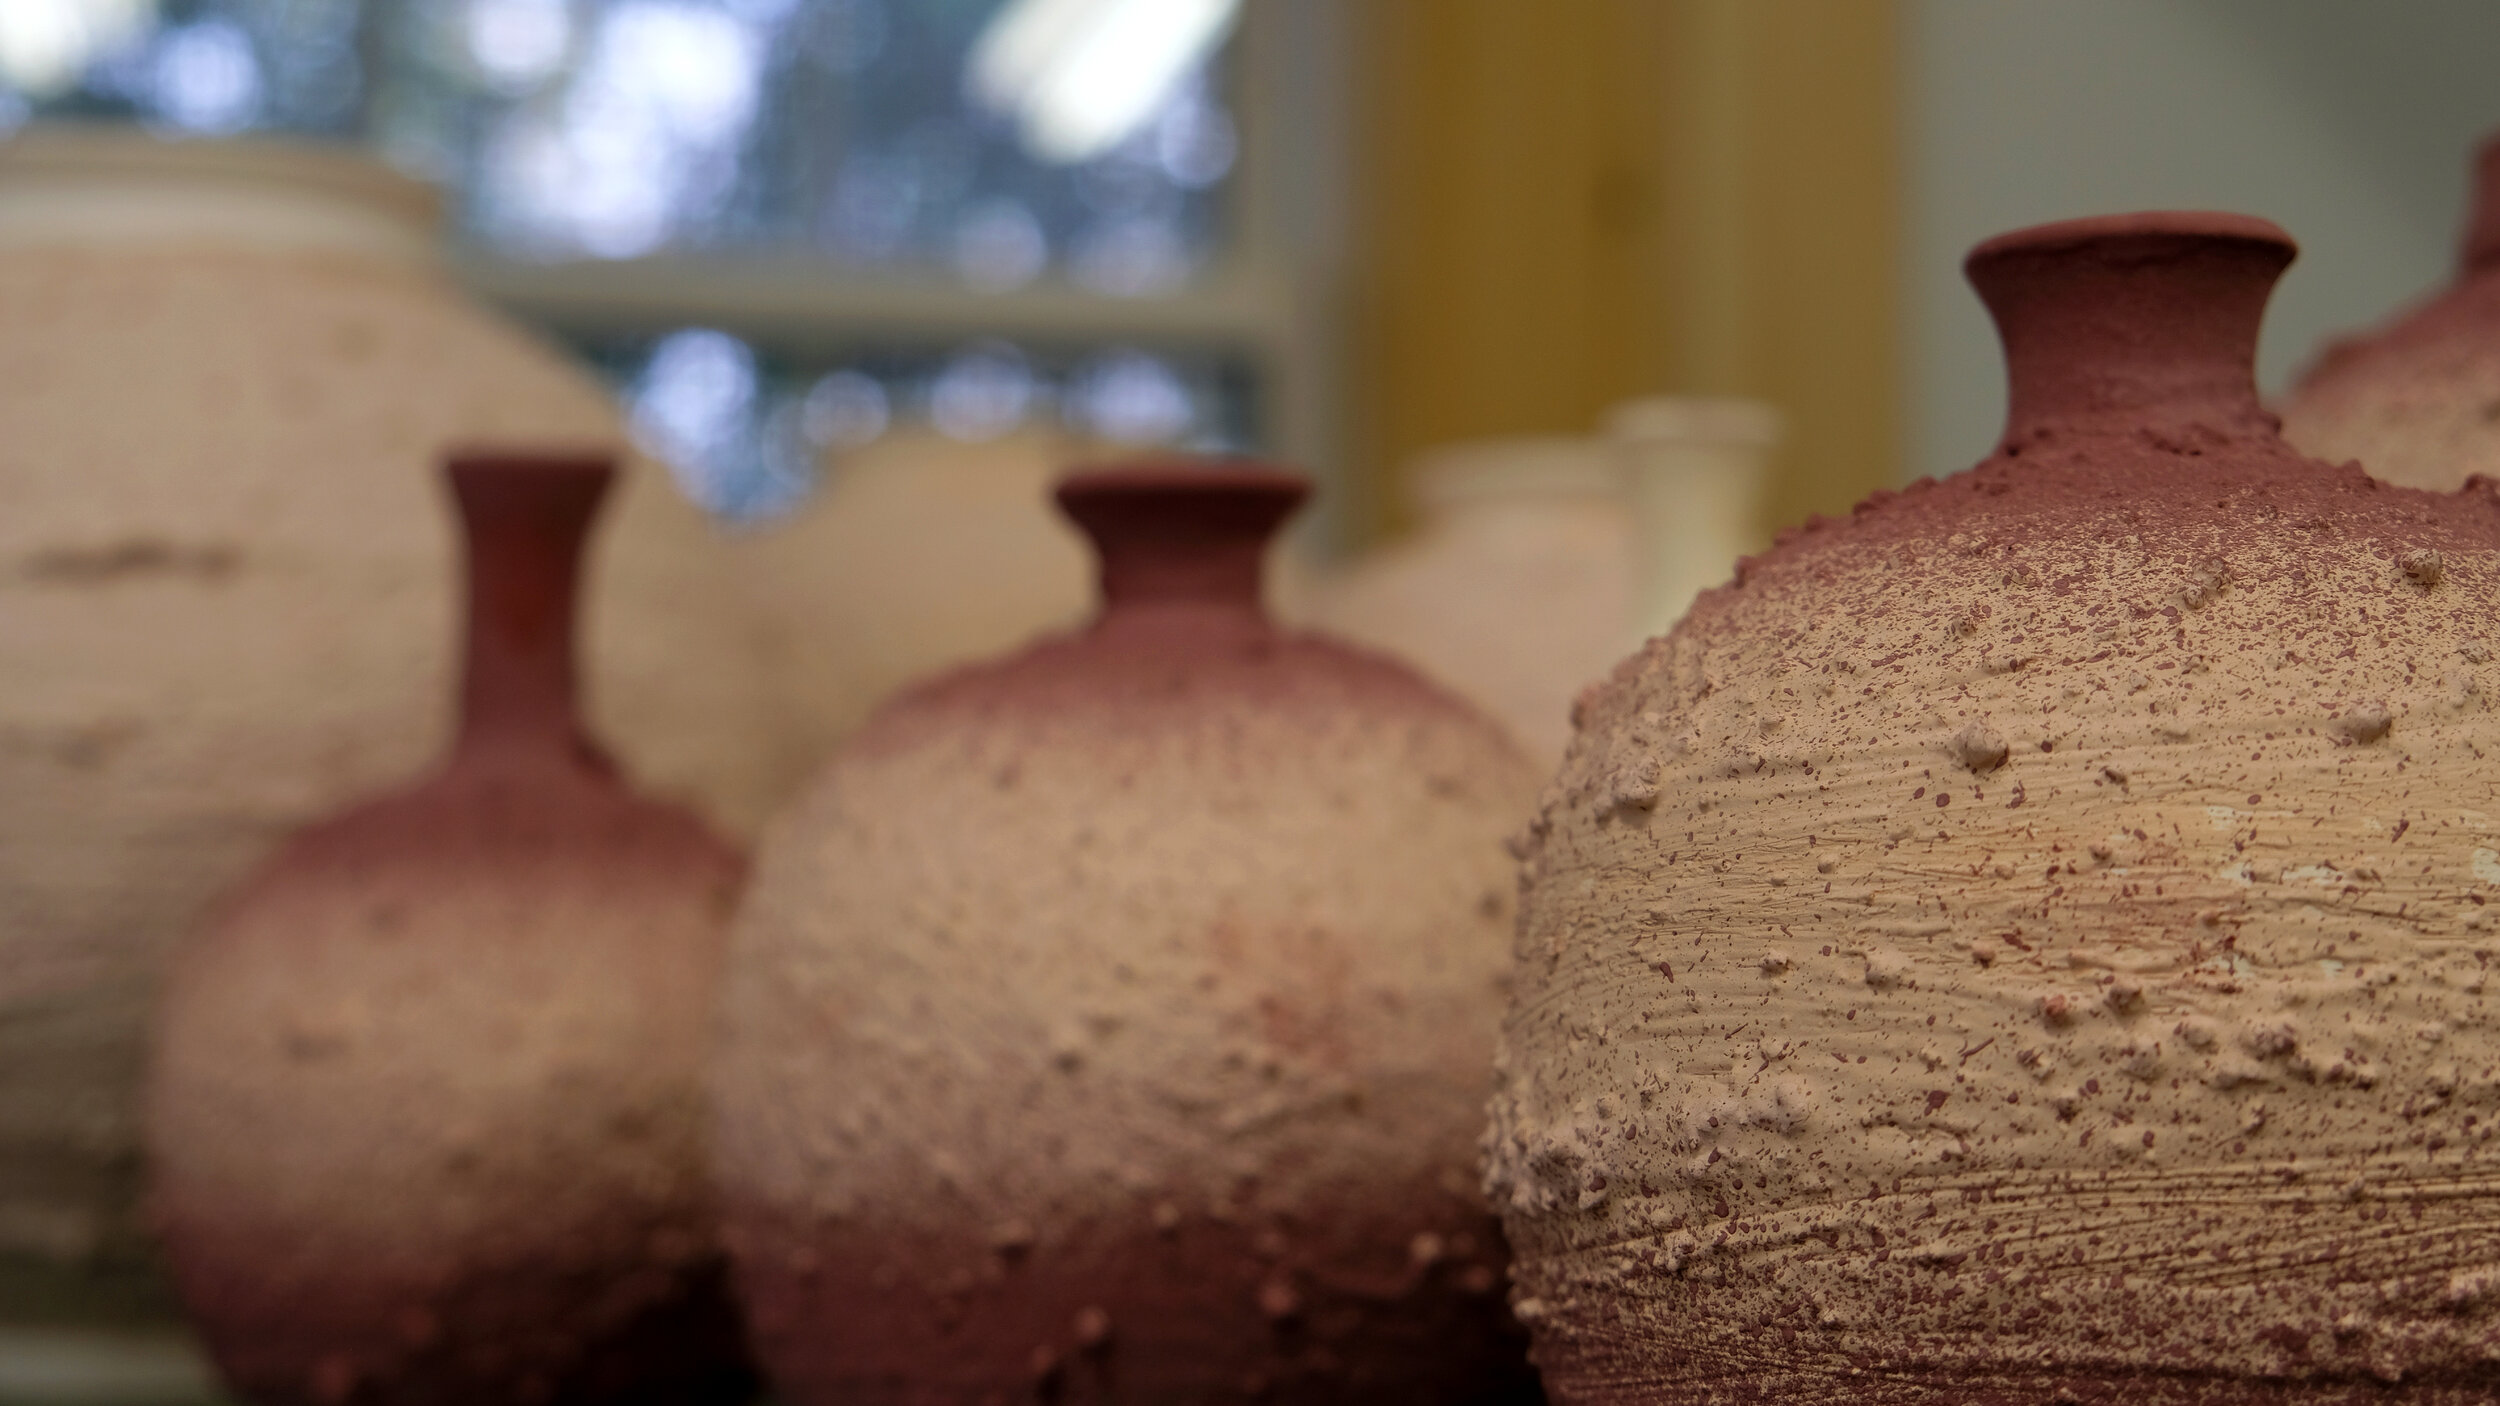
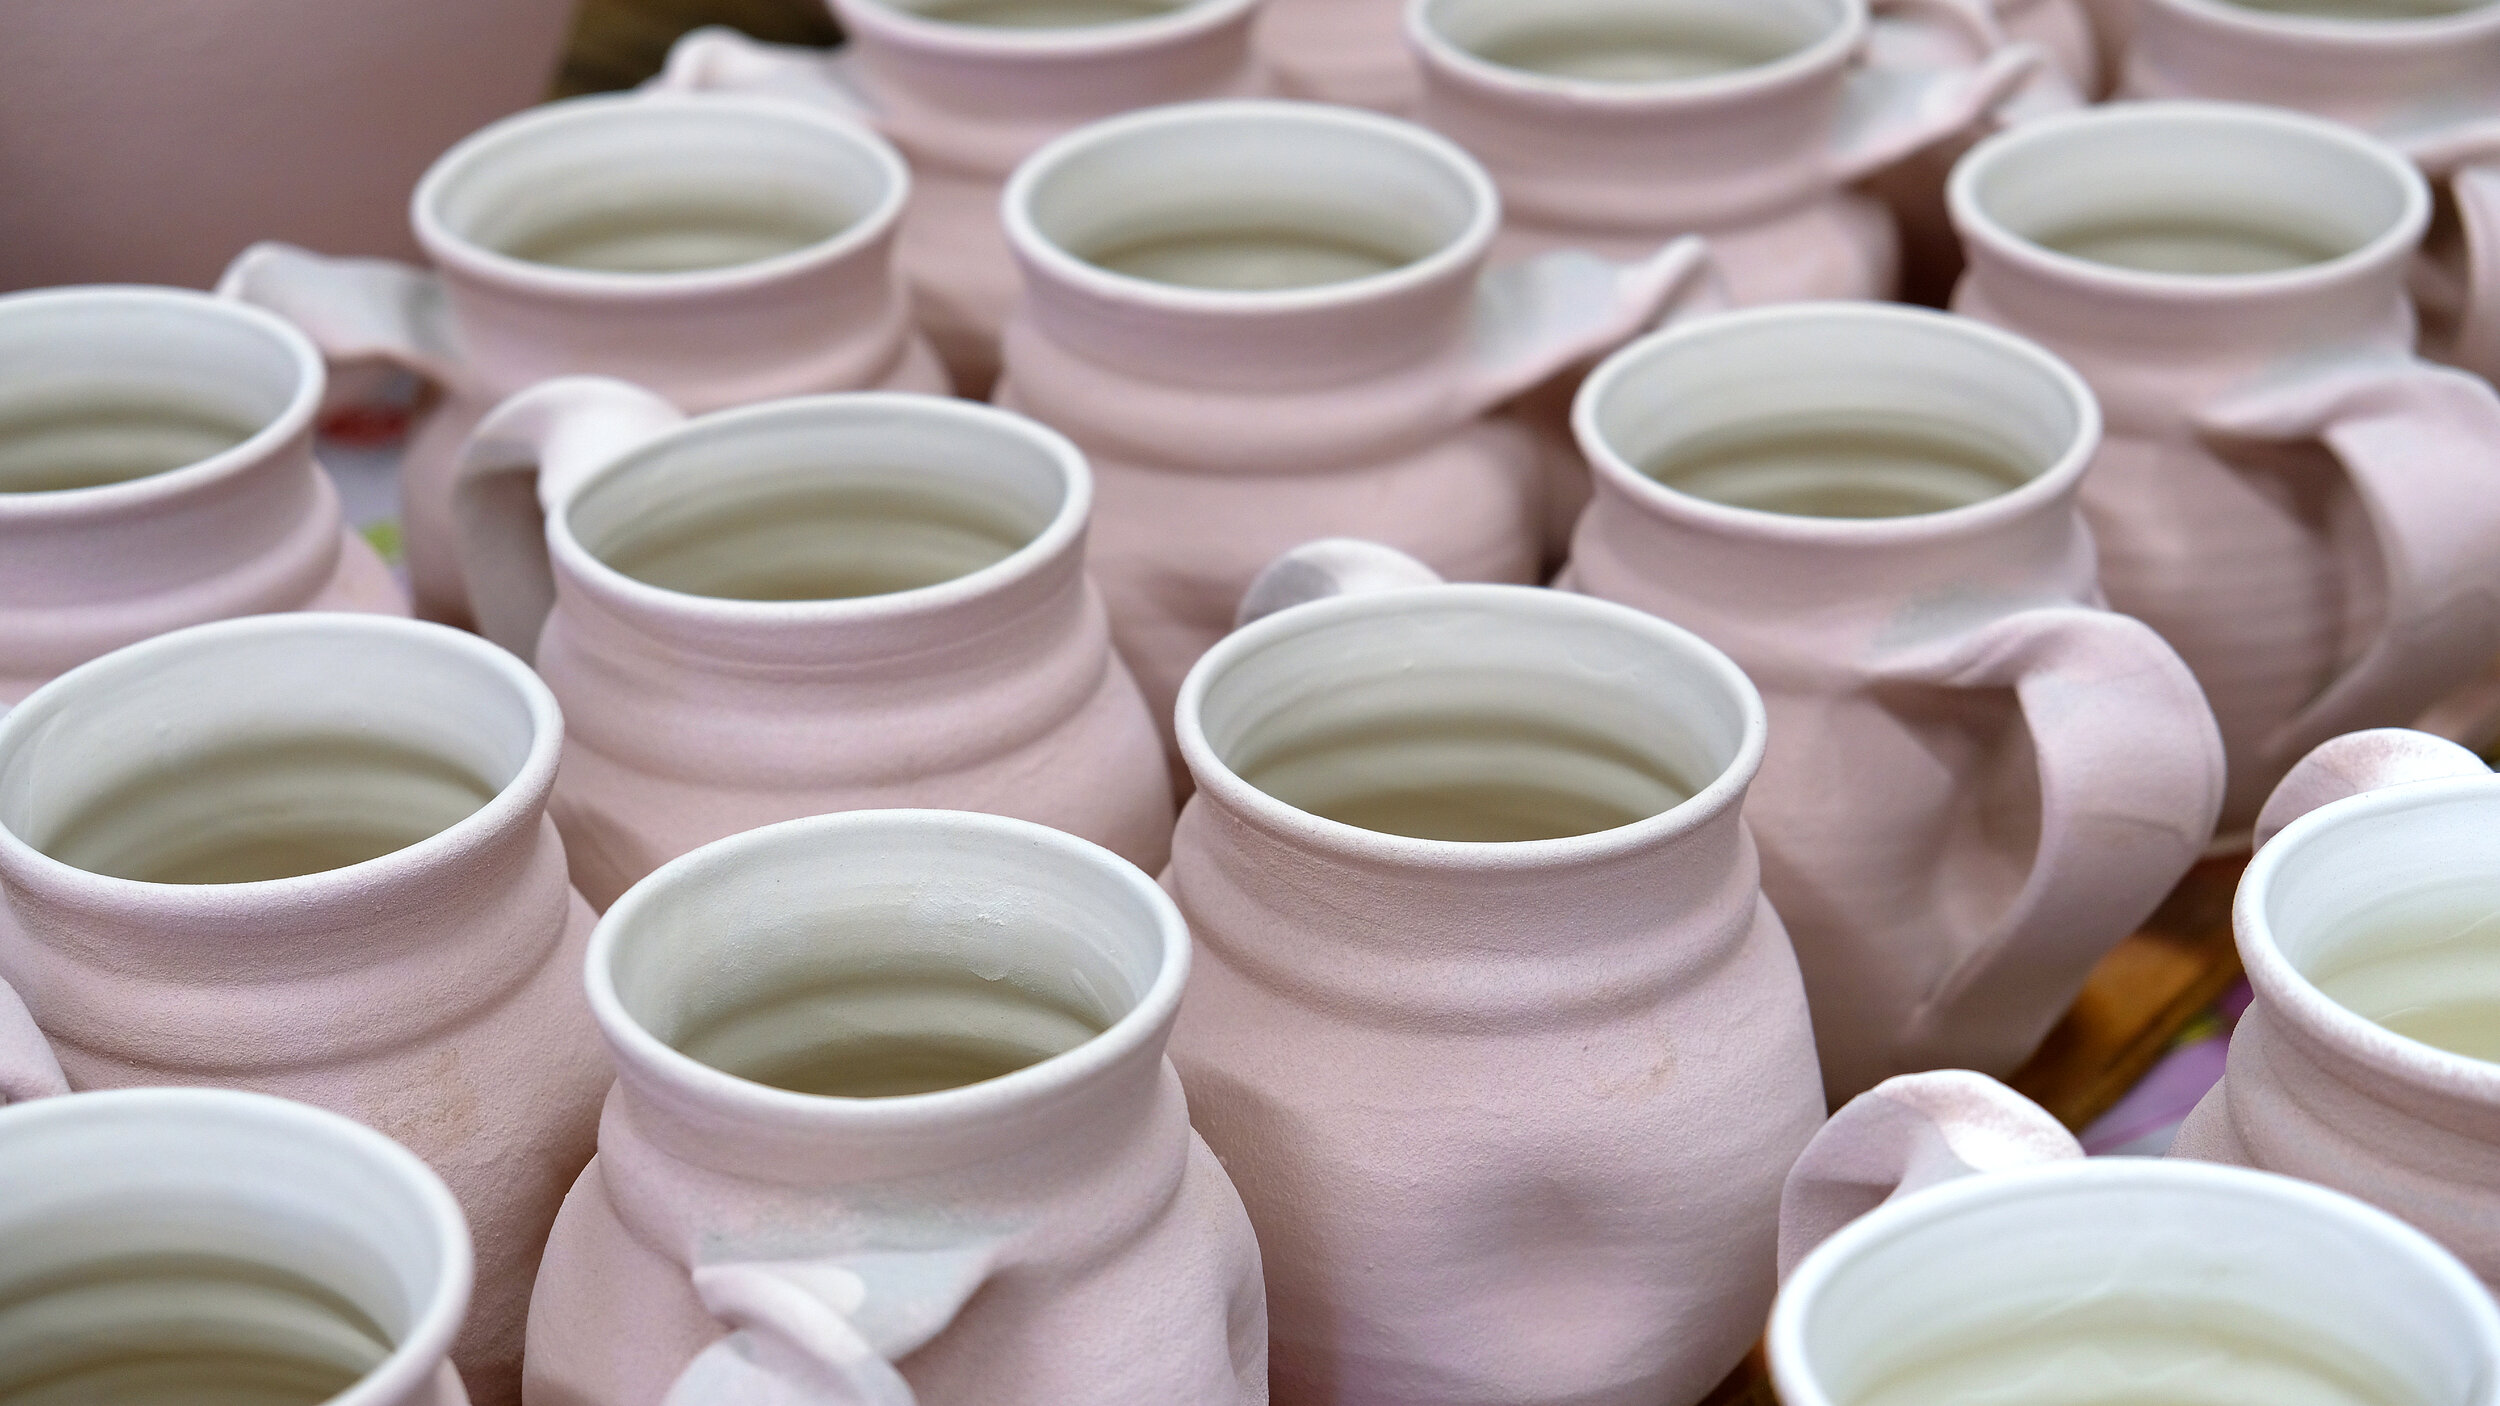
Here is work freshly glazed. These beautiful subtle colours will eventually turn into our copper reds, blues, and shino glazes.
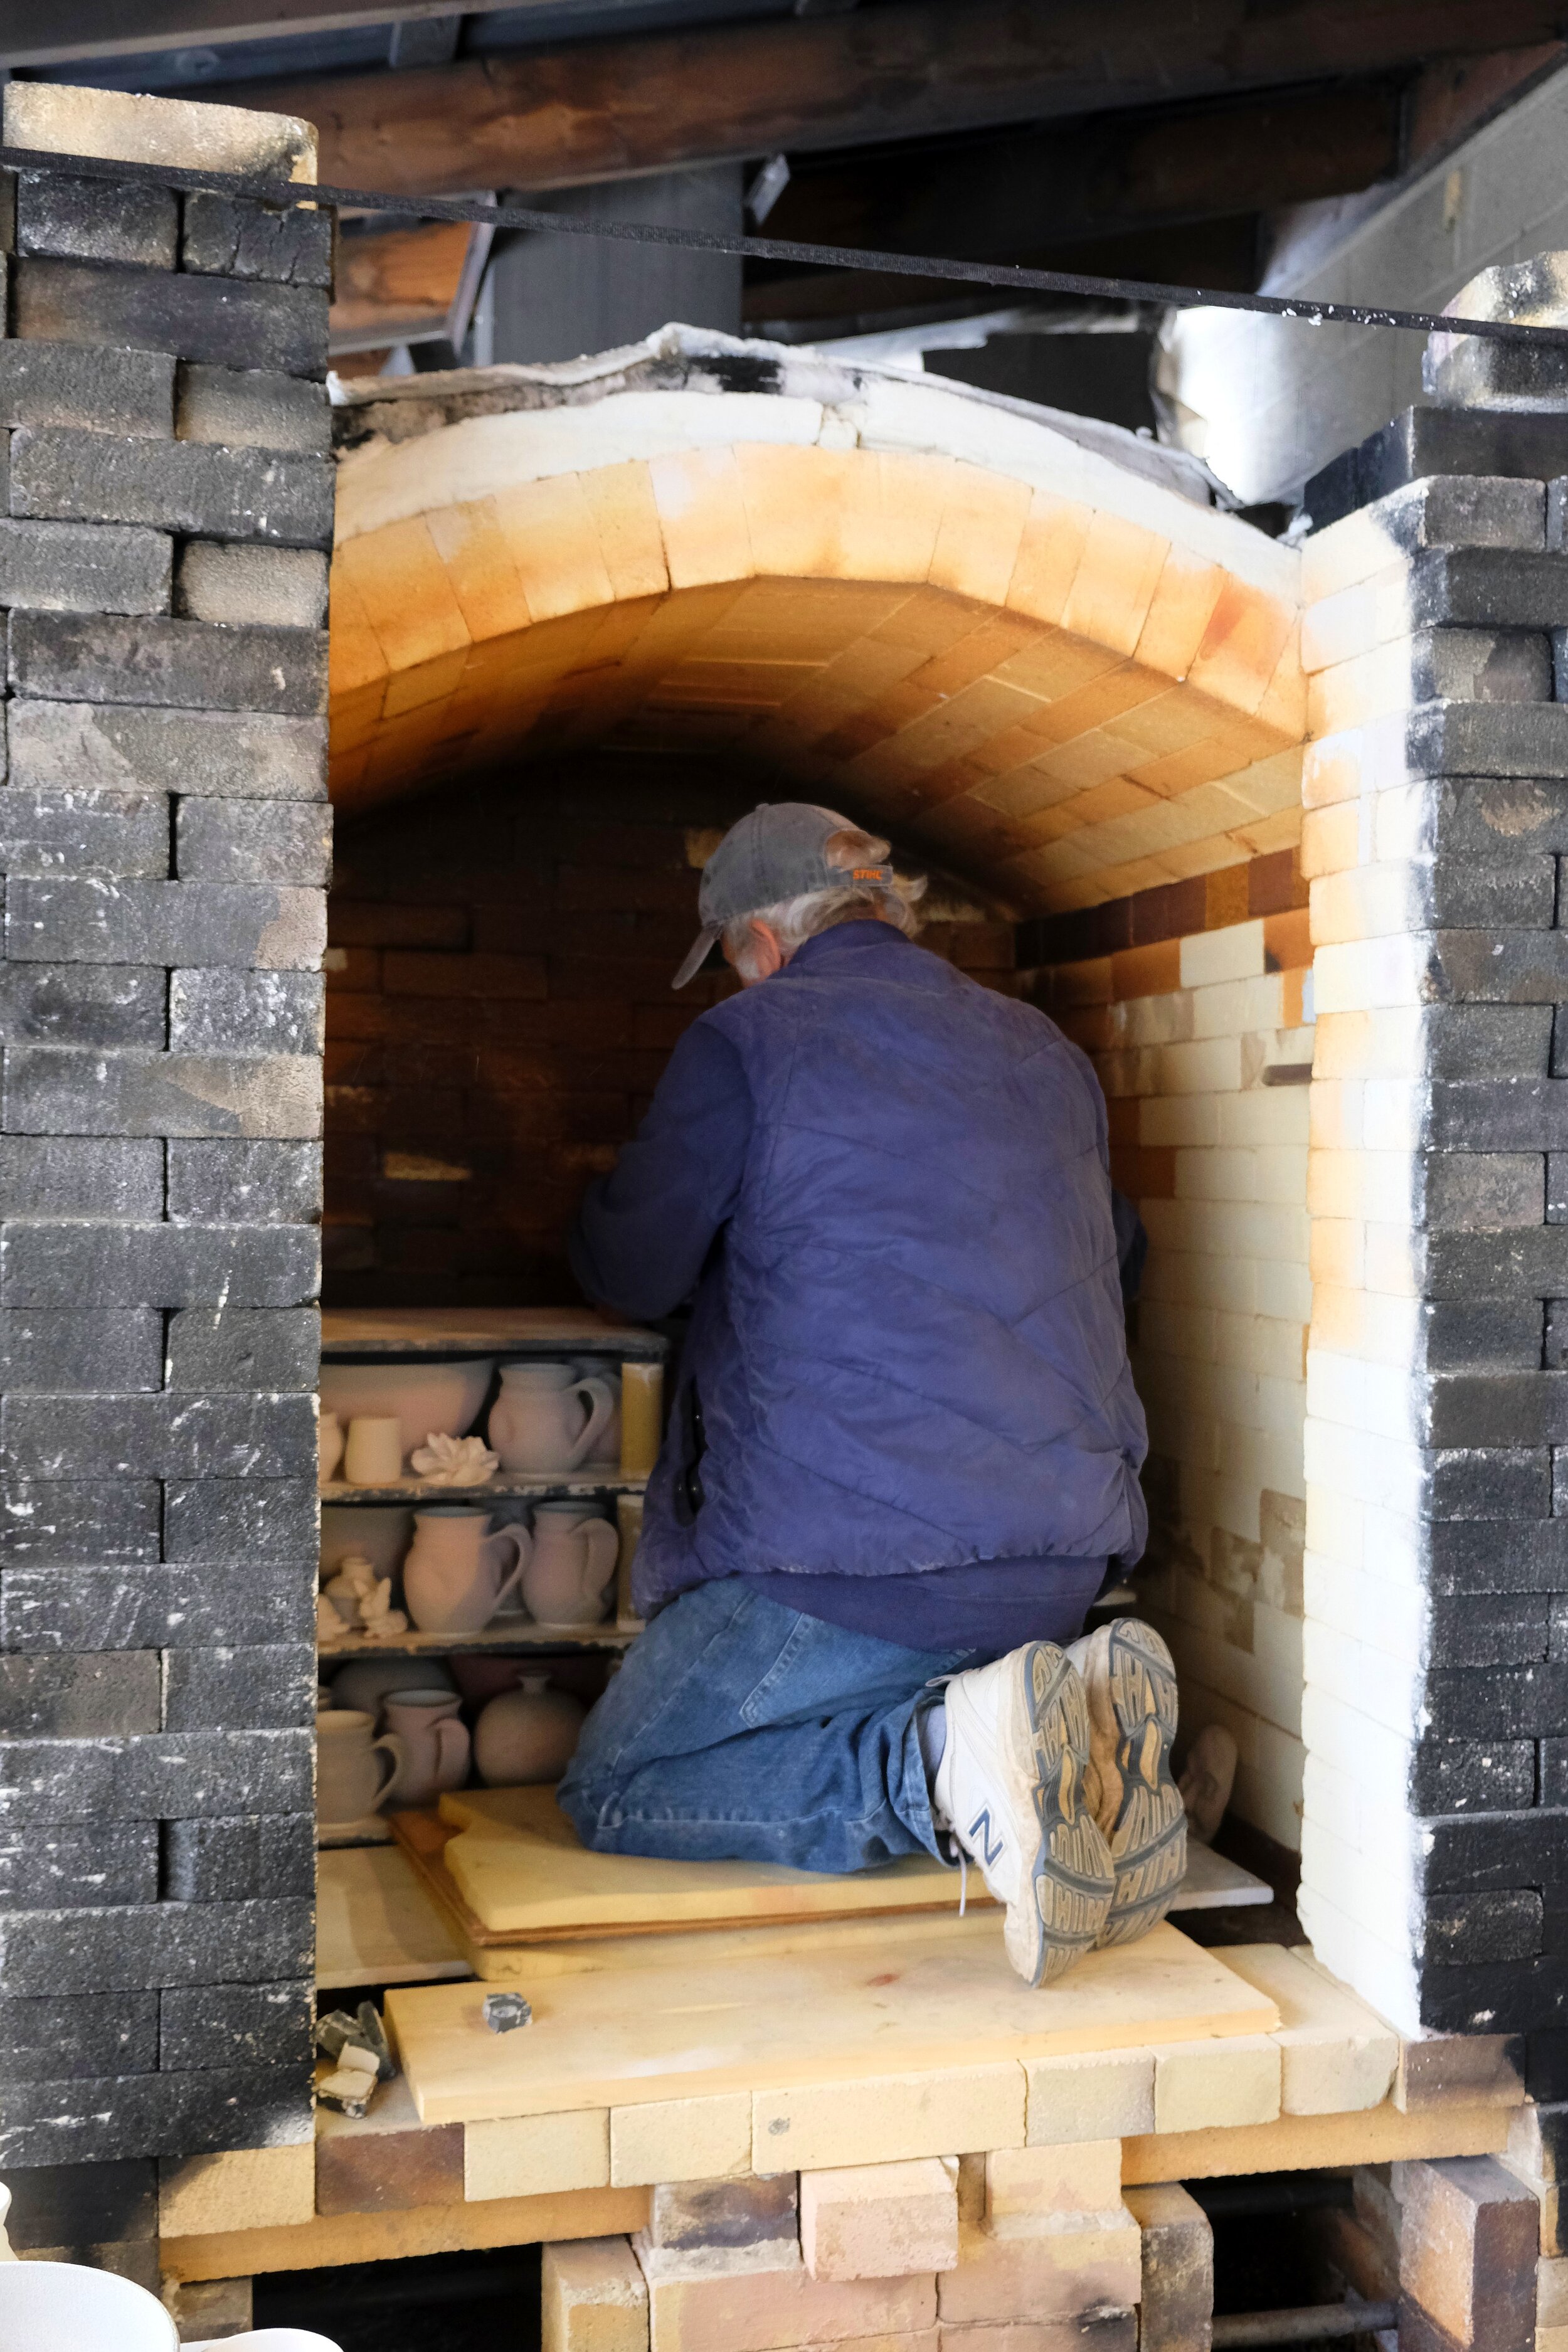
Loading the kiln takes several hours. It’s a time consuming puzzle where you want to maximize space, but also place pieces in just the right position. Some glazes, like the wood ash and shino, love to be at the back, against the fire. Other glazes like our copper red, need to be protected from the harsh flames, and nestled in the middle of shelves. This time we were lucky to load the kiln the day before, and then fire bright and early the following day.
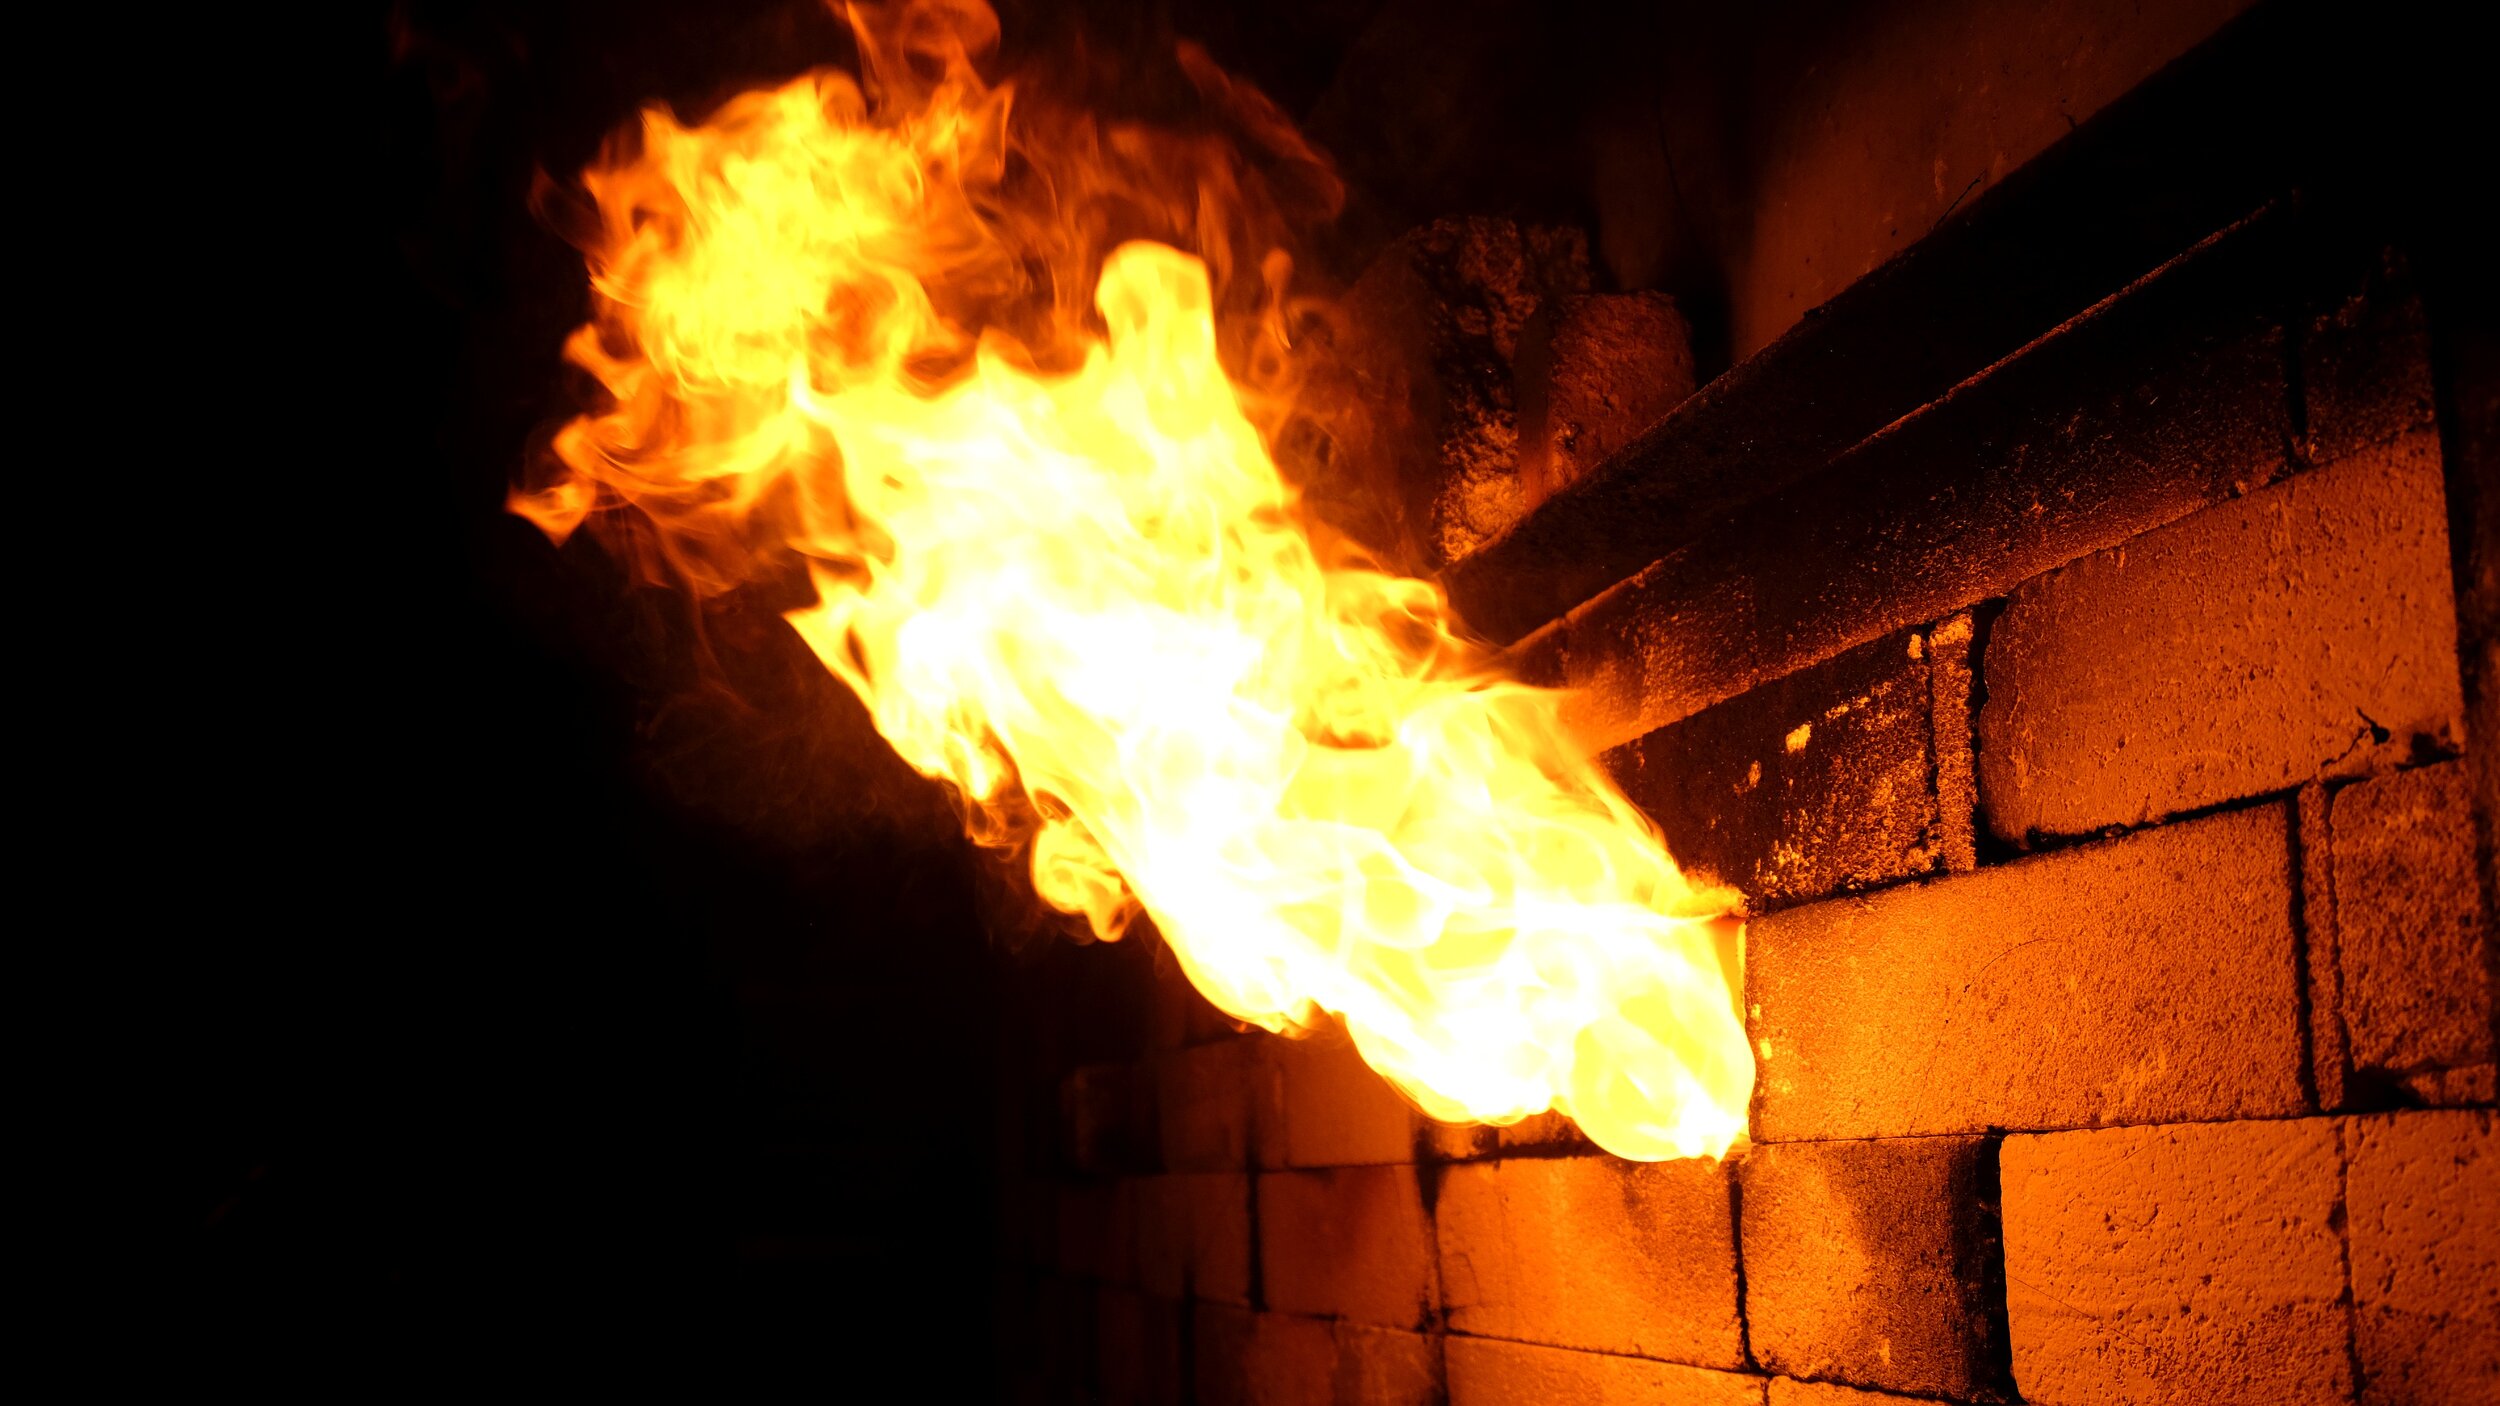
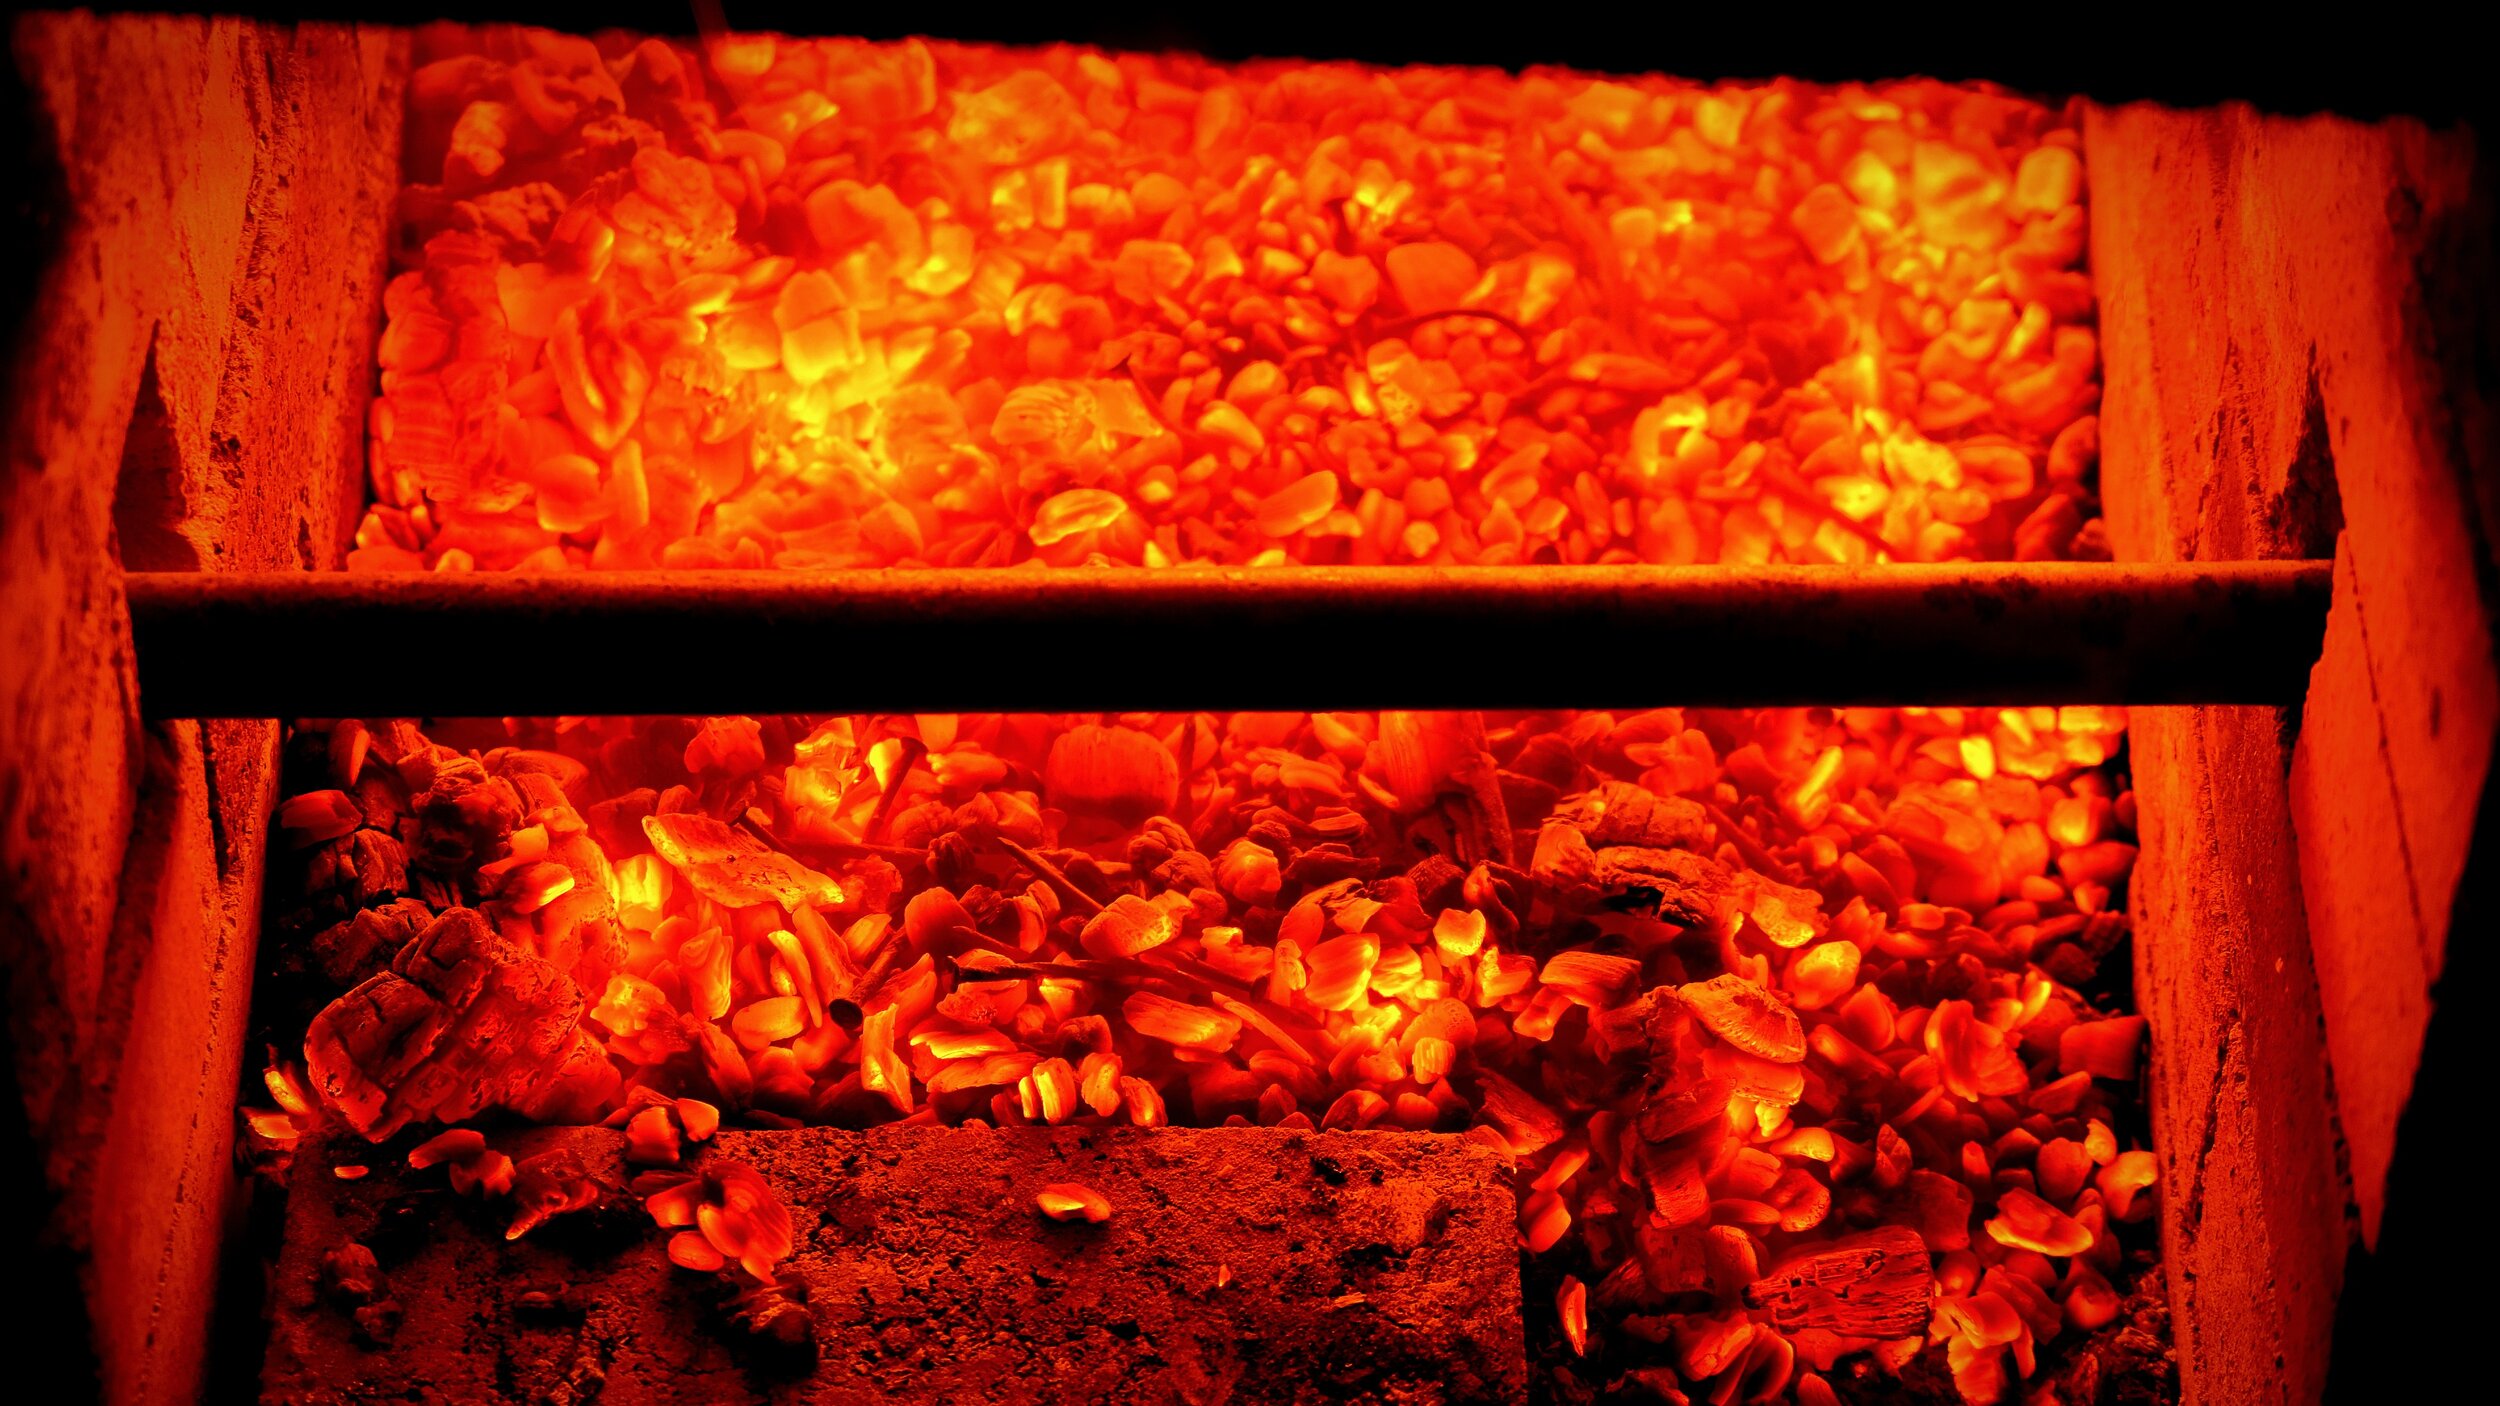
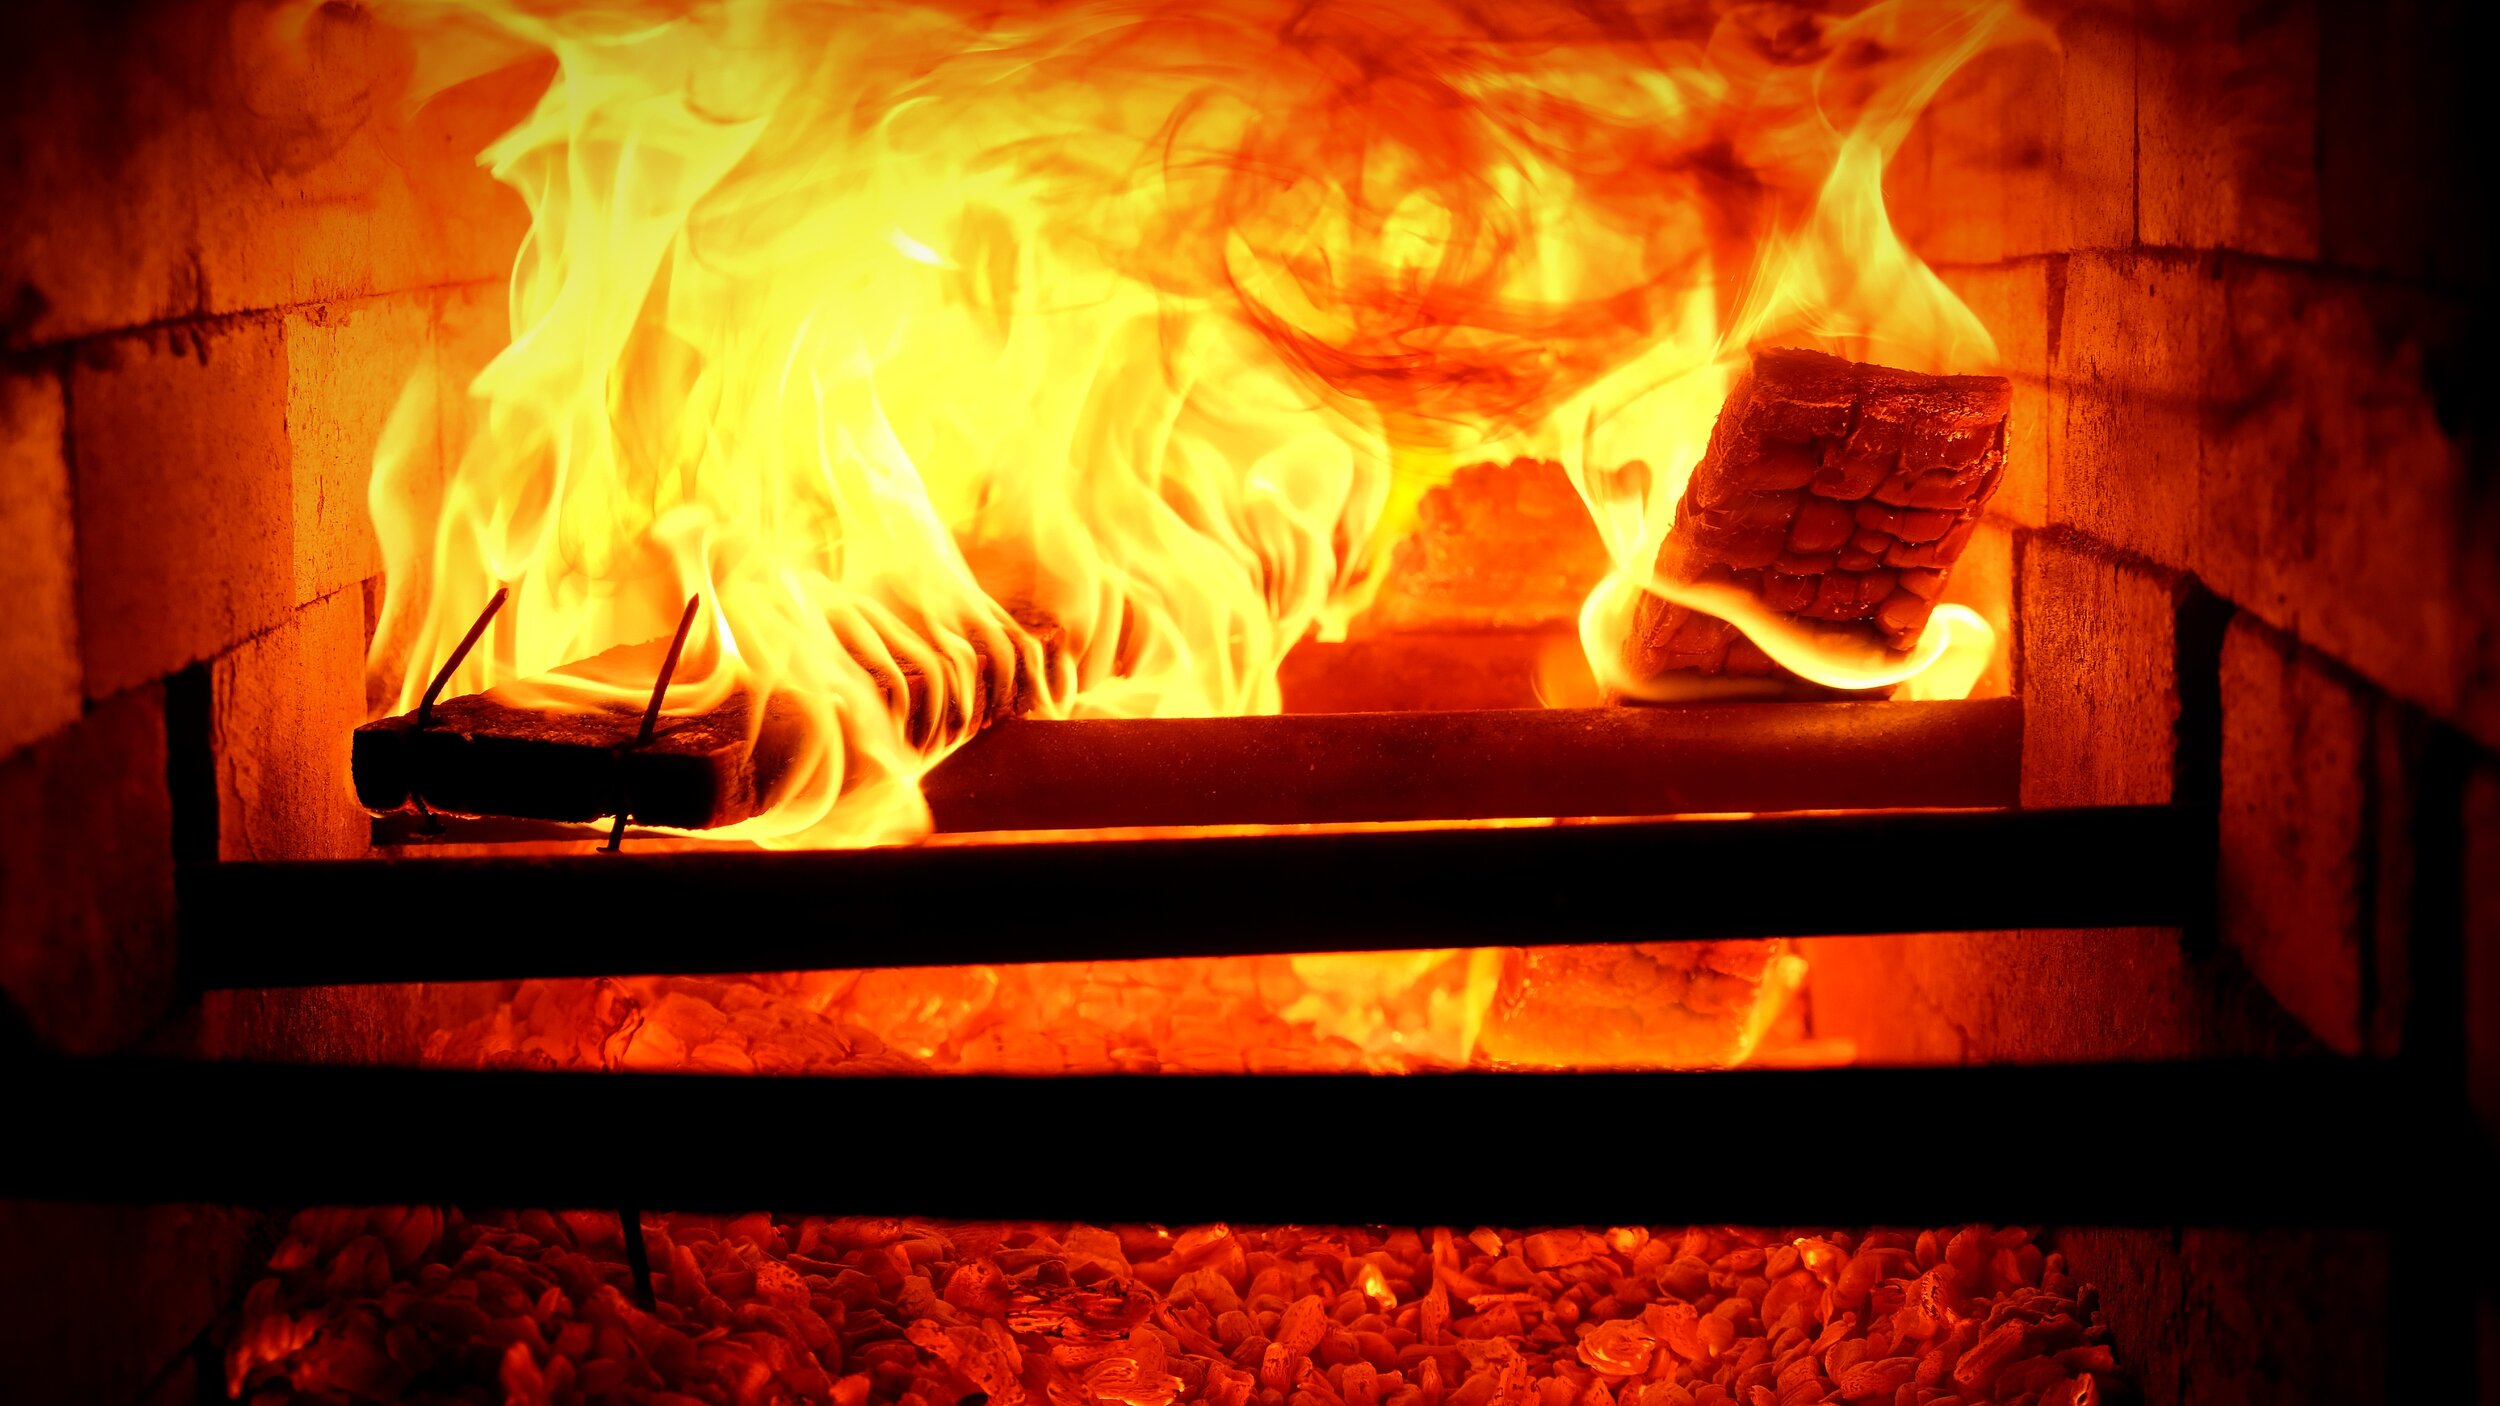
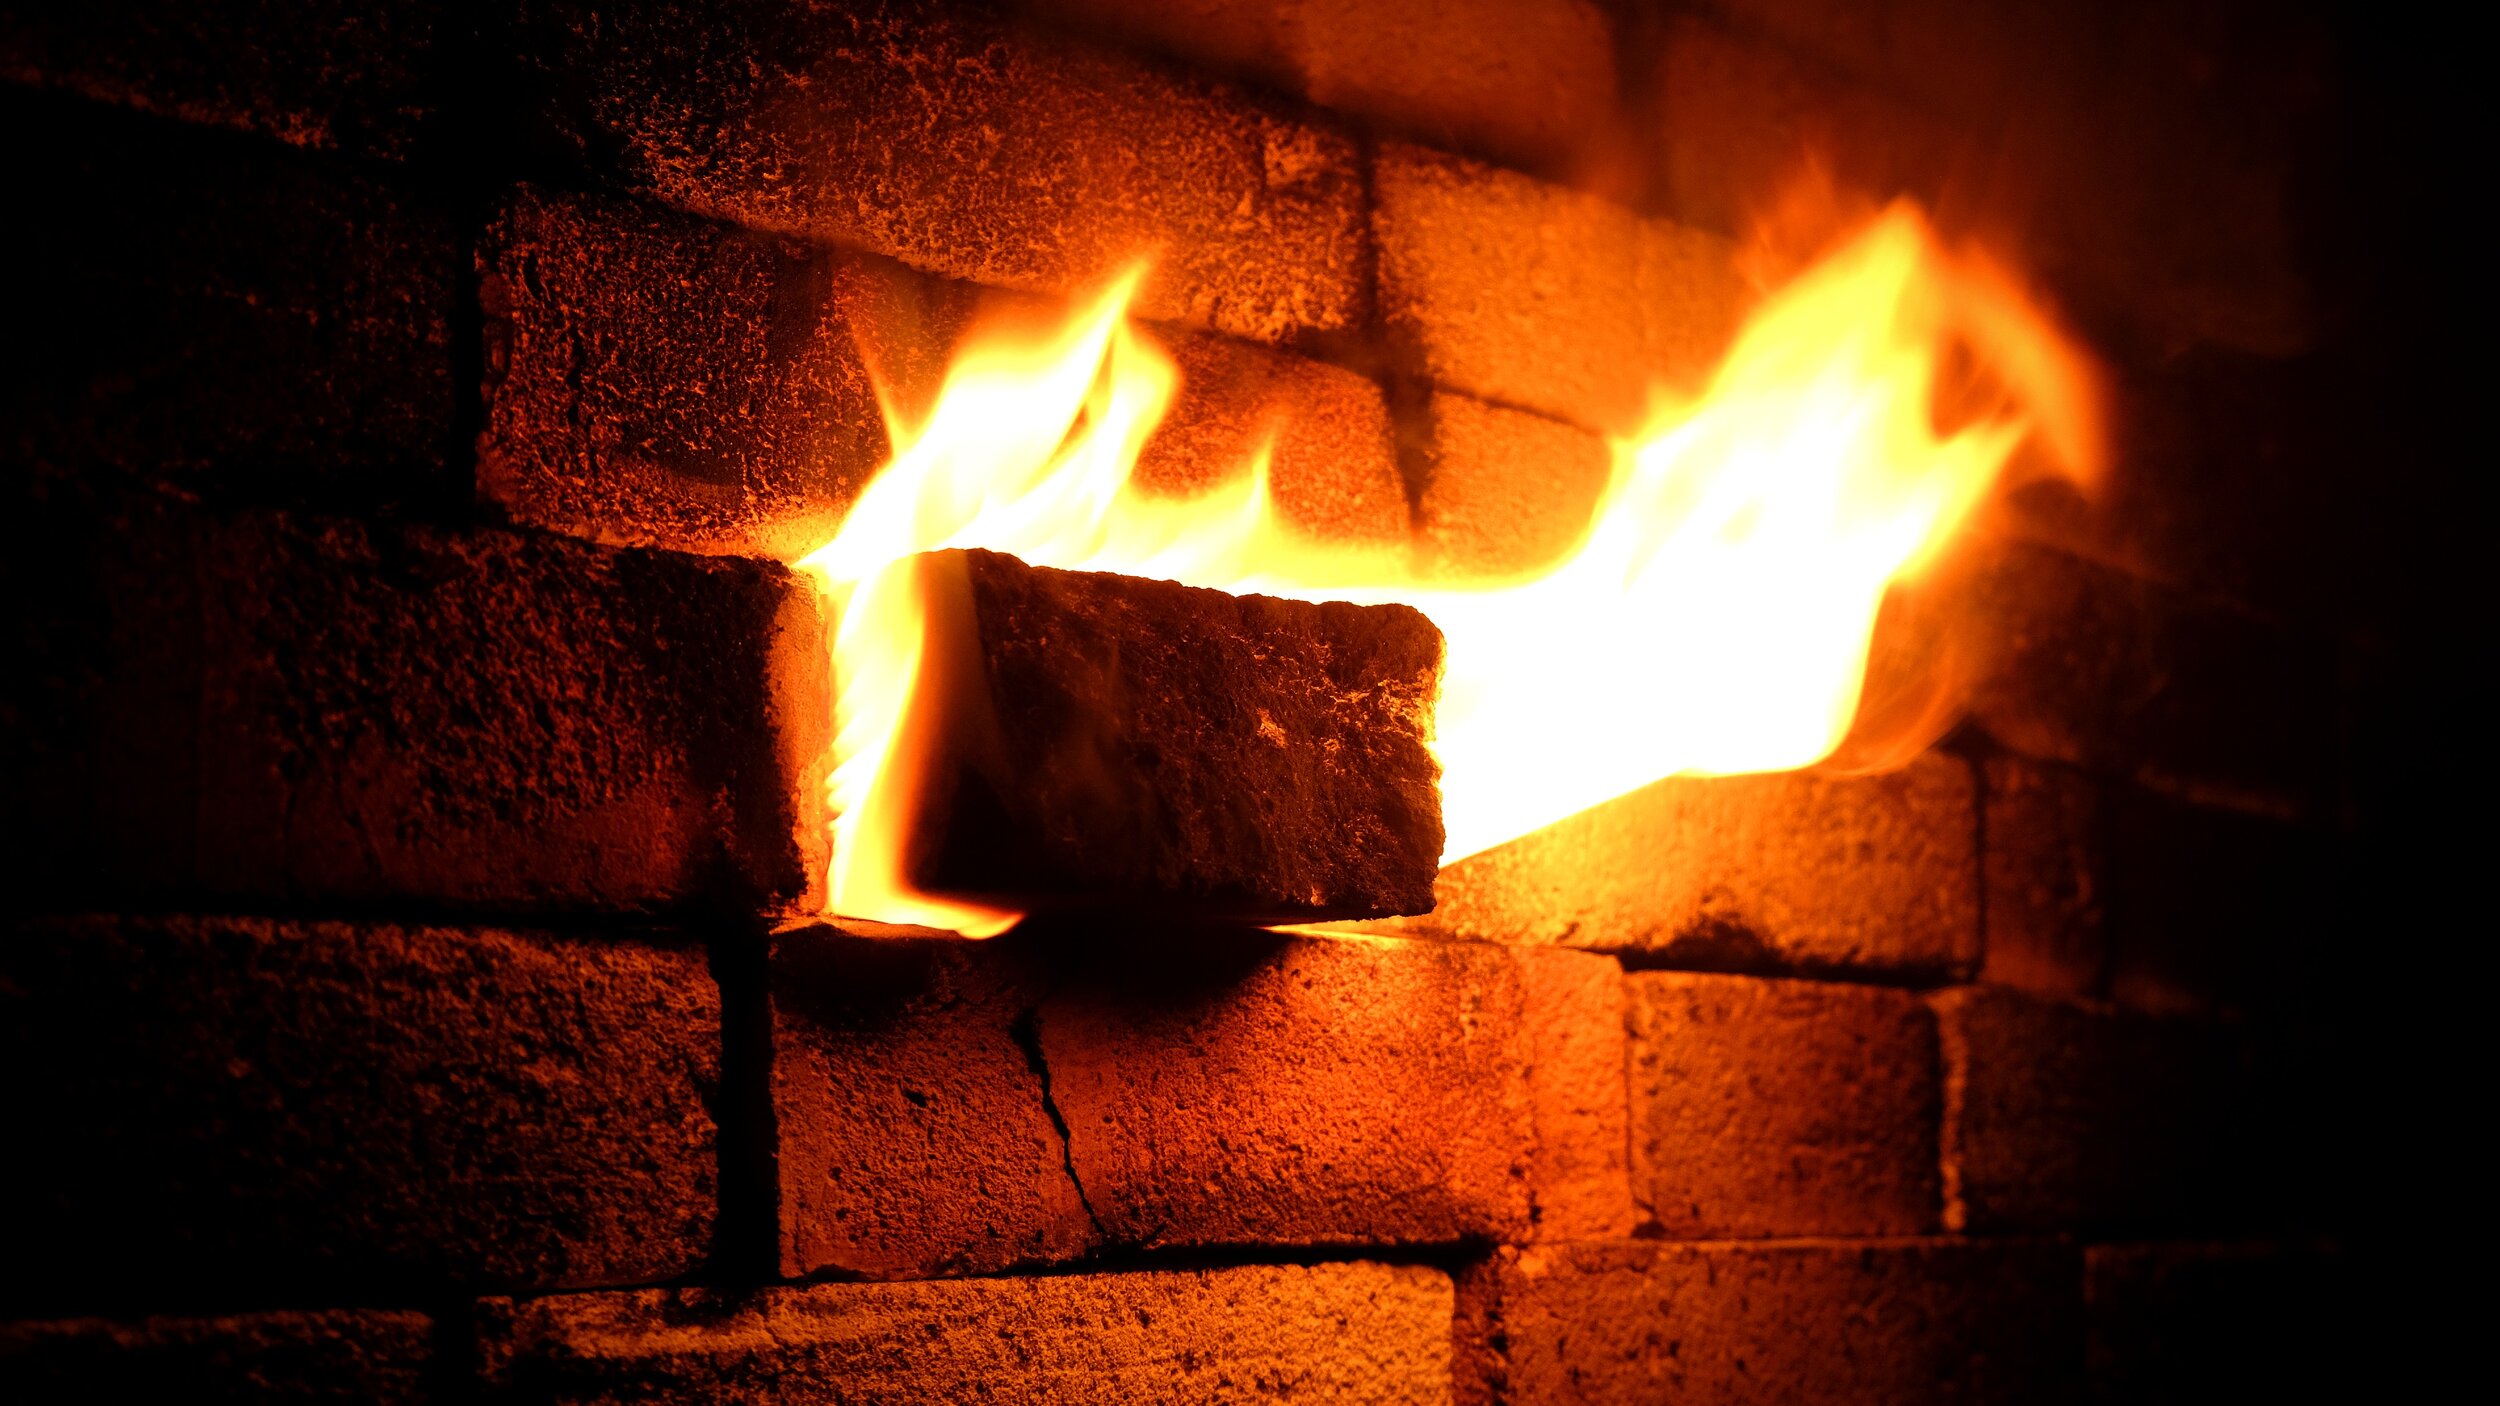
The firing went perfectly, the weather was nice and cool, which made standing next to the fire boxes perfect. We started the firing at 10:30 am and finished shortly after 1:30 am, making it a good 15 hour firing. Being able to work together, and take turns watching the fire boxes, made firing the kiln a lot easier. When I’m overseas and my father is firing alone, its a lot of work and very hard on him physically. For the last 6 or 7 hours of the firing, someone has to be there constantly to tend the fire, with only a minute or two to spare between stoking the fire boxes. Being able to take a break for 45 minutes or an hour makes a world of difference.
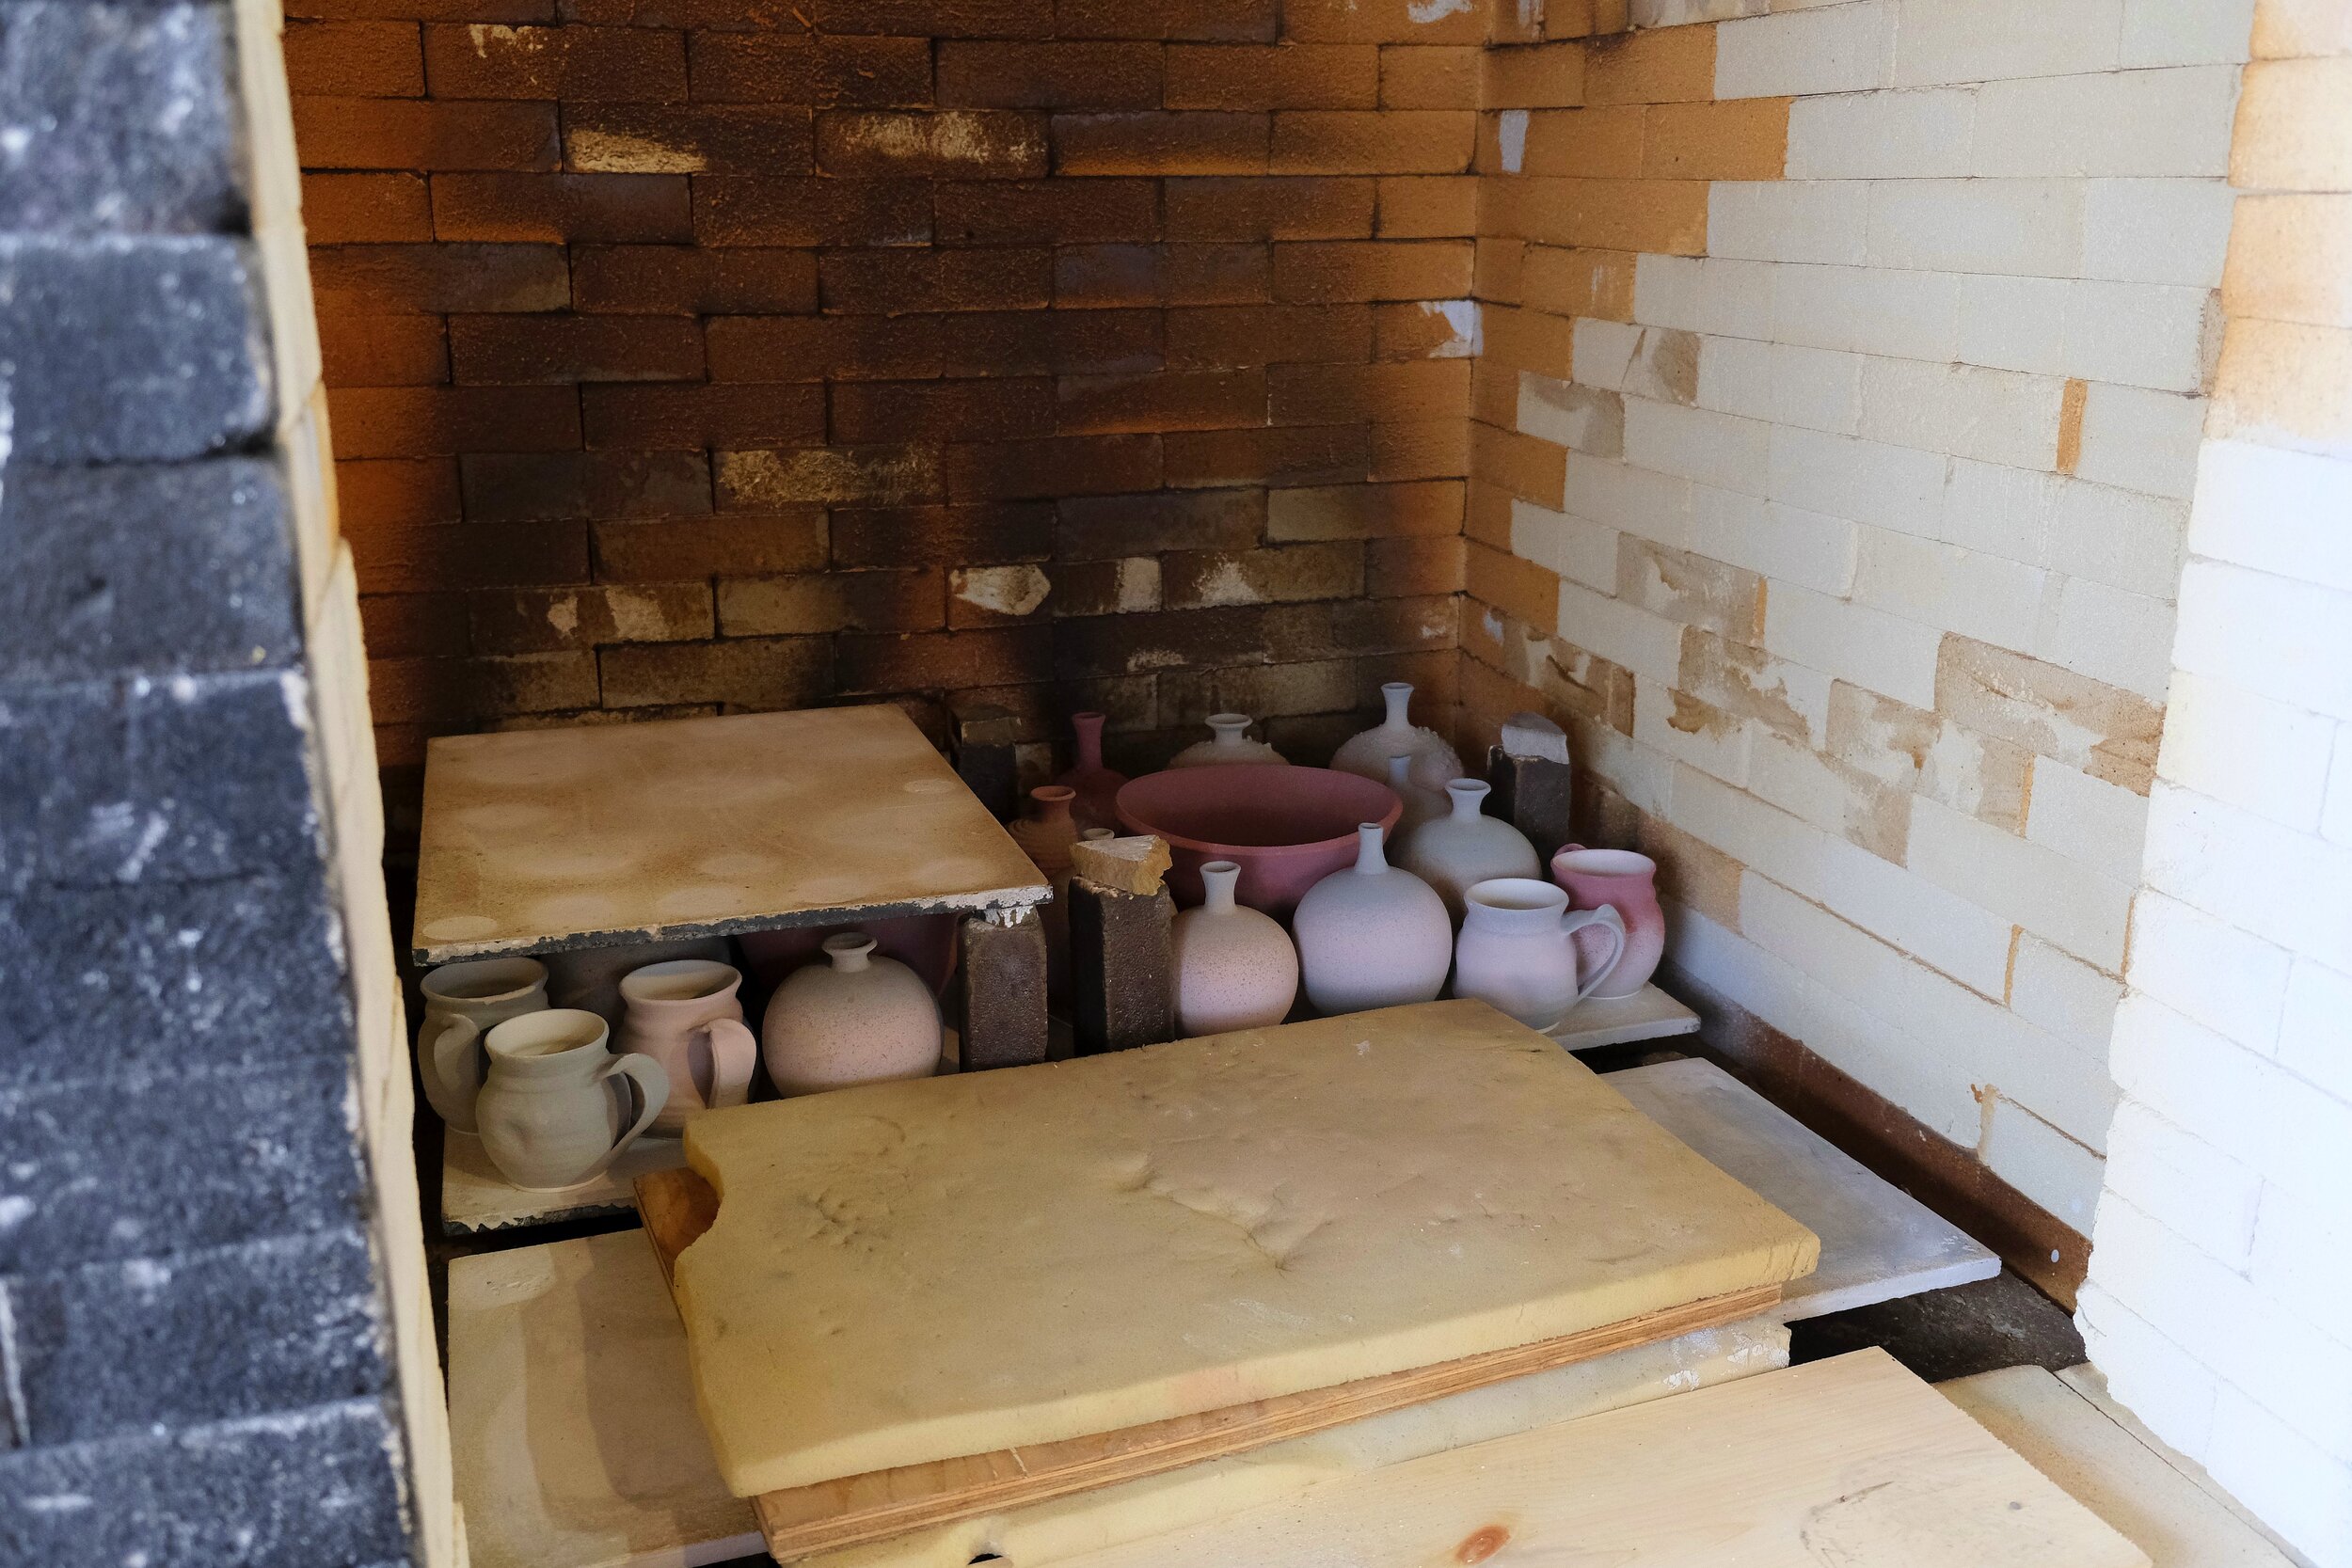
You can see from when we opened the kiln, this firing was one of our best for reduction and copper reds. Sometimes they come out slightly hazy, washed out, or much much worse, completely oxidized. That is when too much oxygen is let into the kiln during the crucial stages of firing, and the copper stays white/green, instead of being robbed of its oxygen molecules and being “reduced”. We were very fortunate with the outcome this time and think some of the pieces are among our very best. Here you can see the kiln right after being opened for the first time. We have to let the kiln cool down naturally and slowly, so we actually open the kiln a complete 3 or 4 days after the firing is finished. Even after so many days, the temperature inside is easily too hot to handle without gloves. When the work is unloaded, as it cools, you can actually hear the pots ‘sing’, as they ping and make noises as the glazes and clay body stabilize, cool down, and stop their final changes.
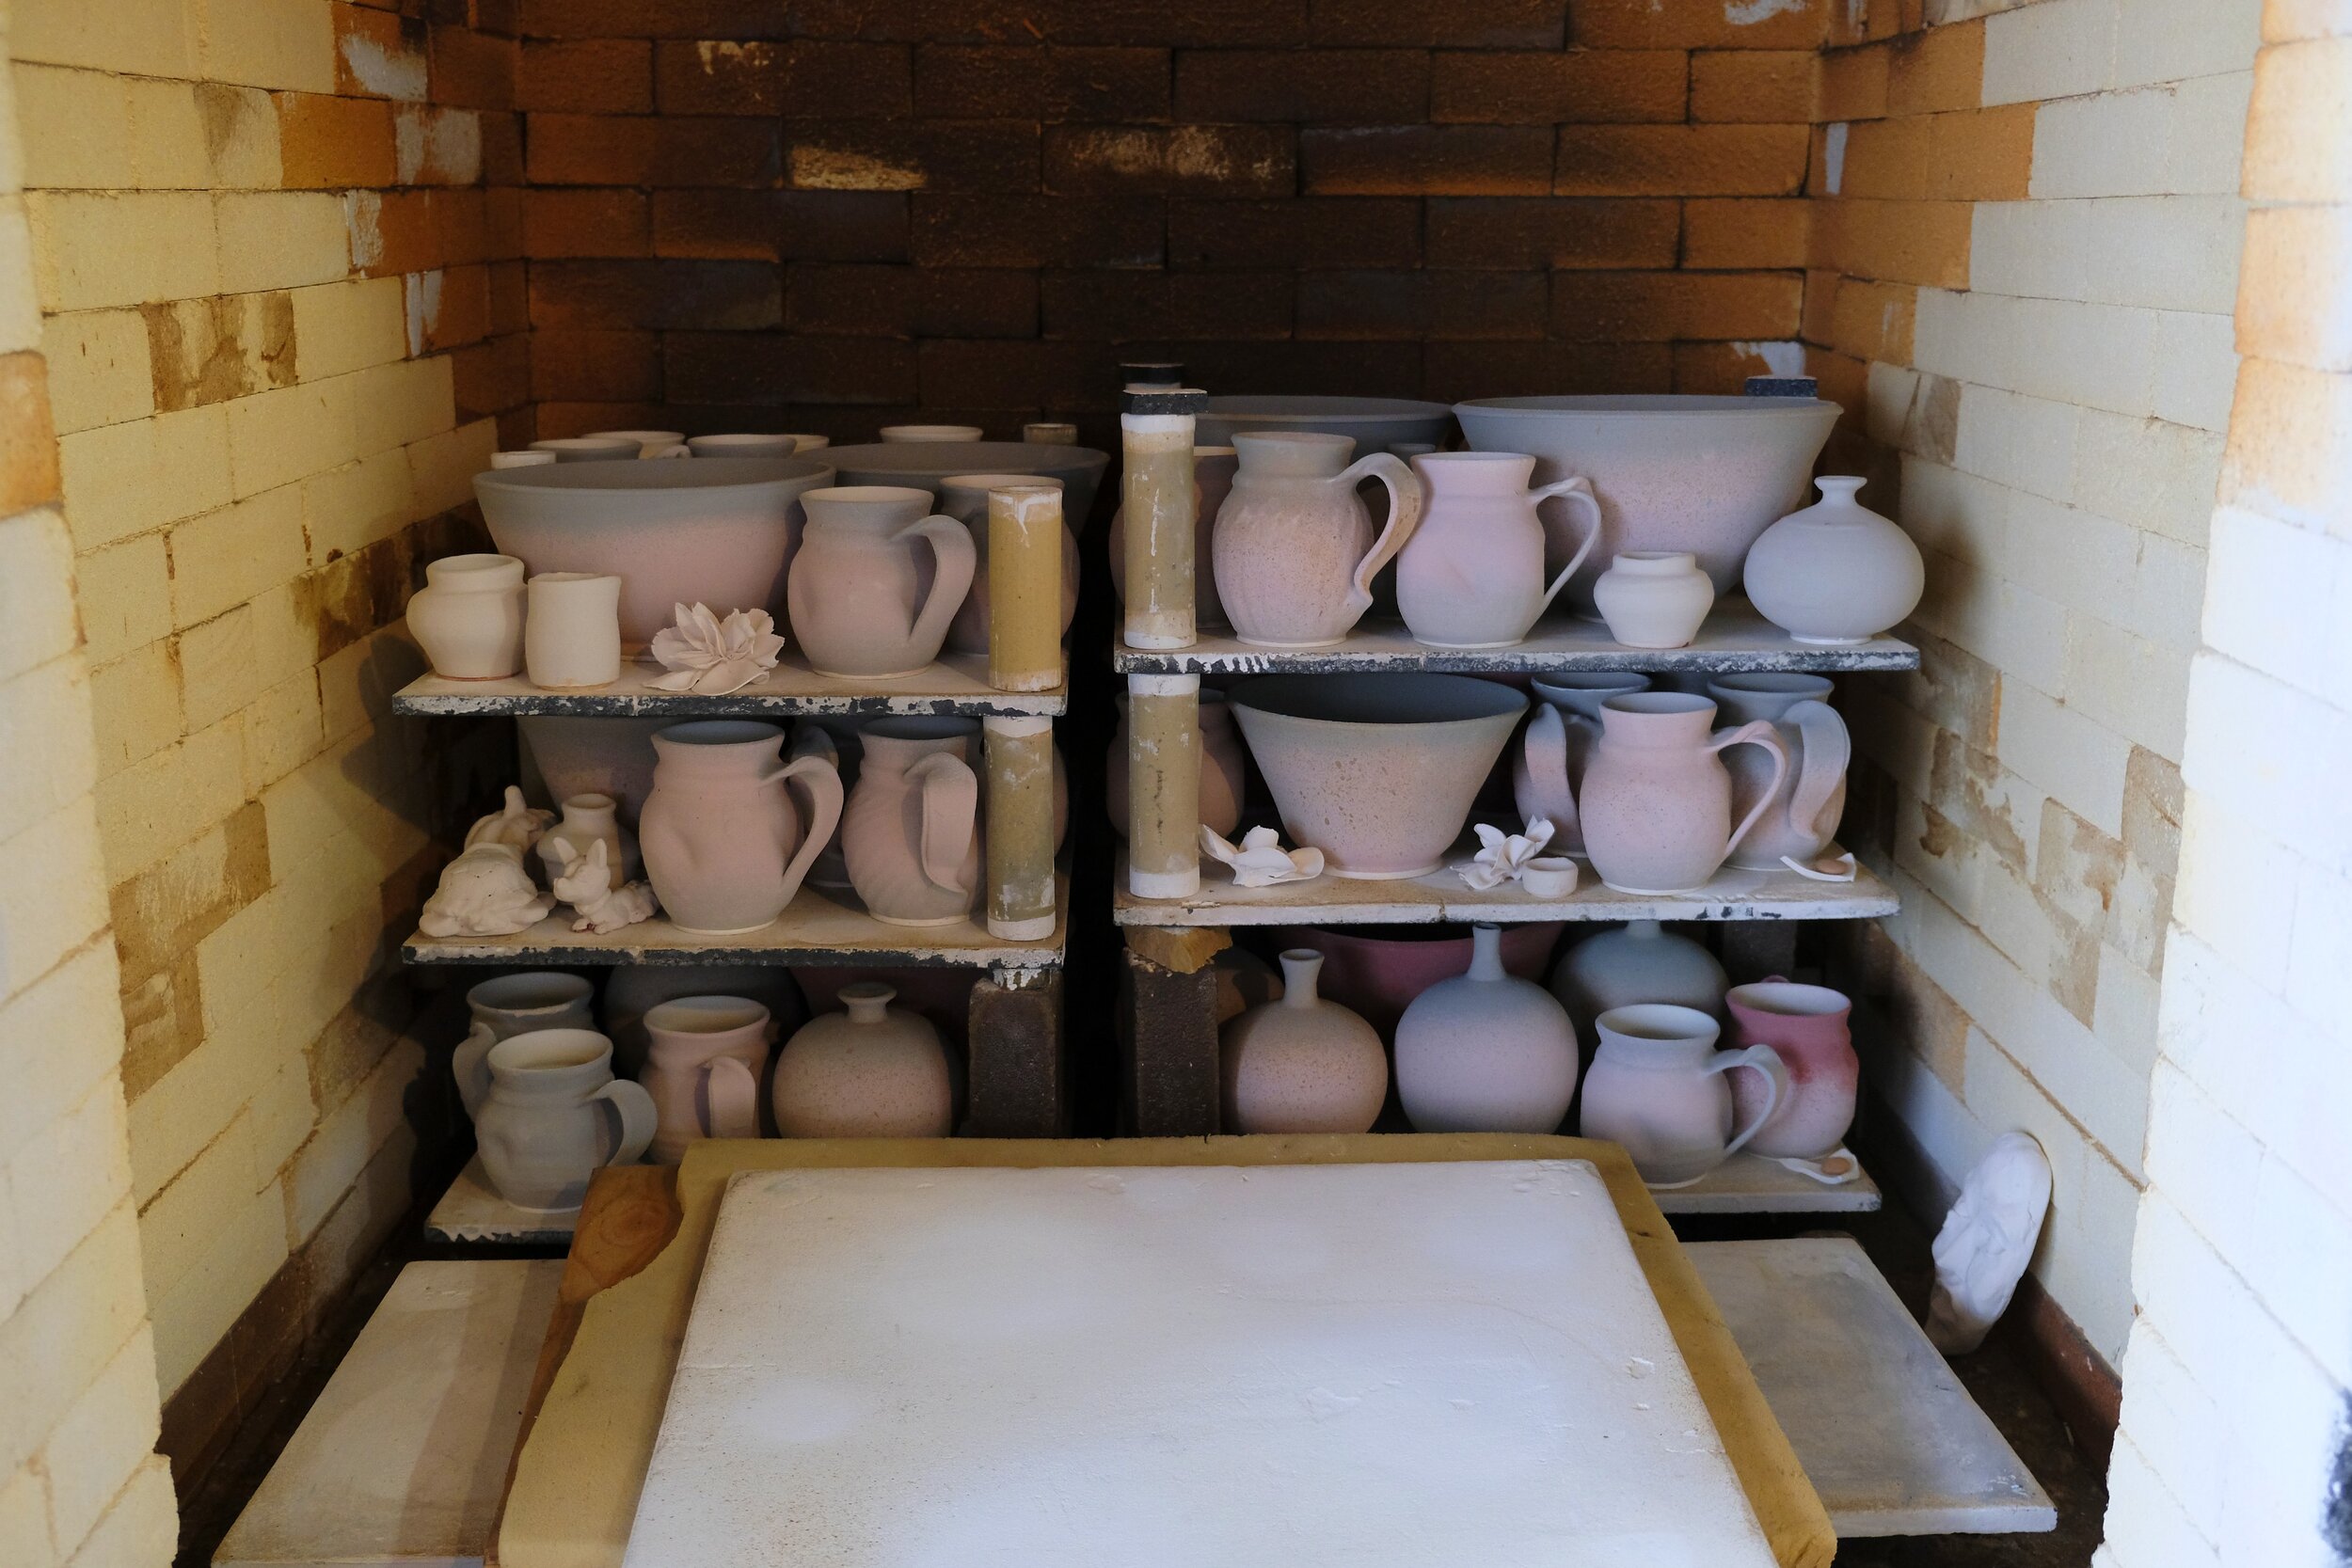
In these two pictures you can not only see how vibrant the reds are, but also how even and consistent they are throughout the whole kiln. Top to bottom, front to back. This is usually not the case and we often find what we call “cold spots” in the kiln, which do not get enough heat, ventilation or reduction.
The front 2 shelves
The back 2 shelves
And finally, the end results. Here are some of the pieces from the firing. Obviously there are a lot more, but I tried to select a small sample of some of the best work. I’m hoping to put some of these online for sale sometime in the near future, but that’s a whole different challenge. Thank you for checking out what we’ve been up to and some of our more recent work. Please drop by our studio, we’d love to have you, just call 519-426-6650 in advance, to make sure we’ll be there. Take care and stay safe, Peter~~


